Post by COMpulse on Aug 22, 2017 18:14:05 GMT -5
First, I am going to try to transfer all of the images from the old forum. I may grab the old text as well for historical purposes and to document the process for others.
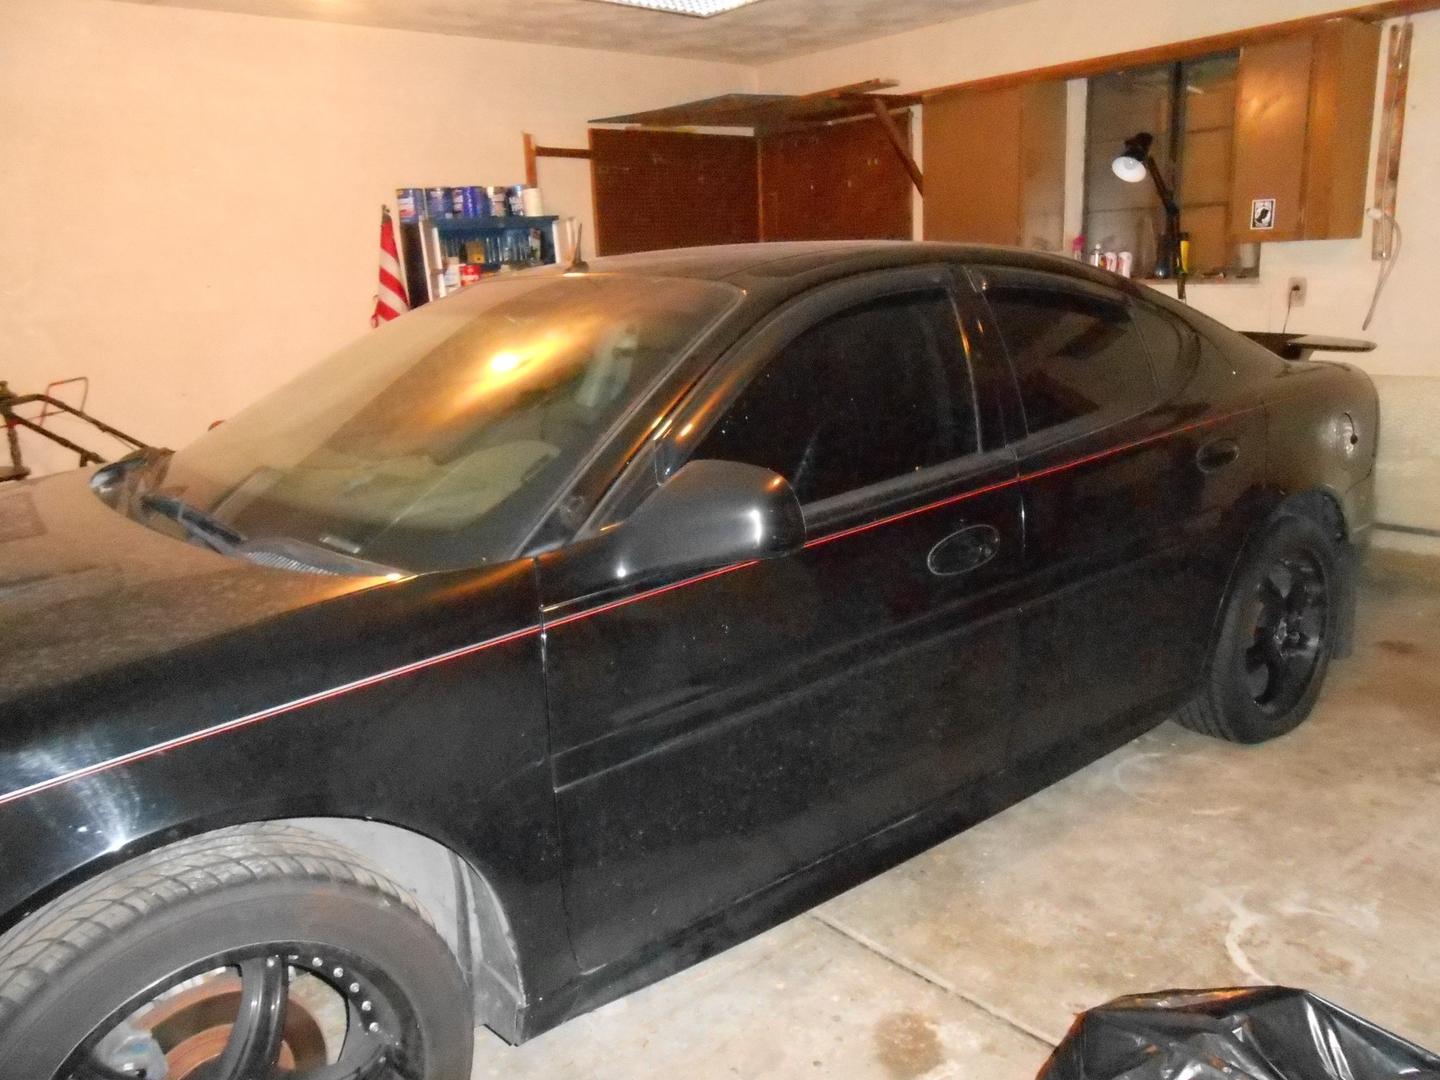
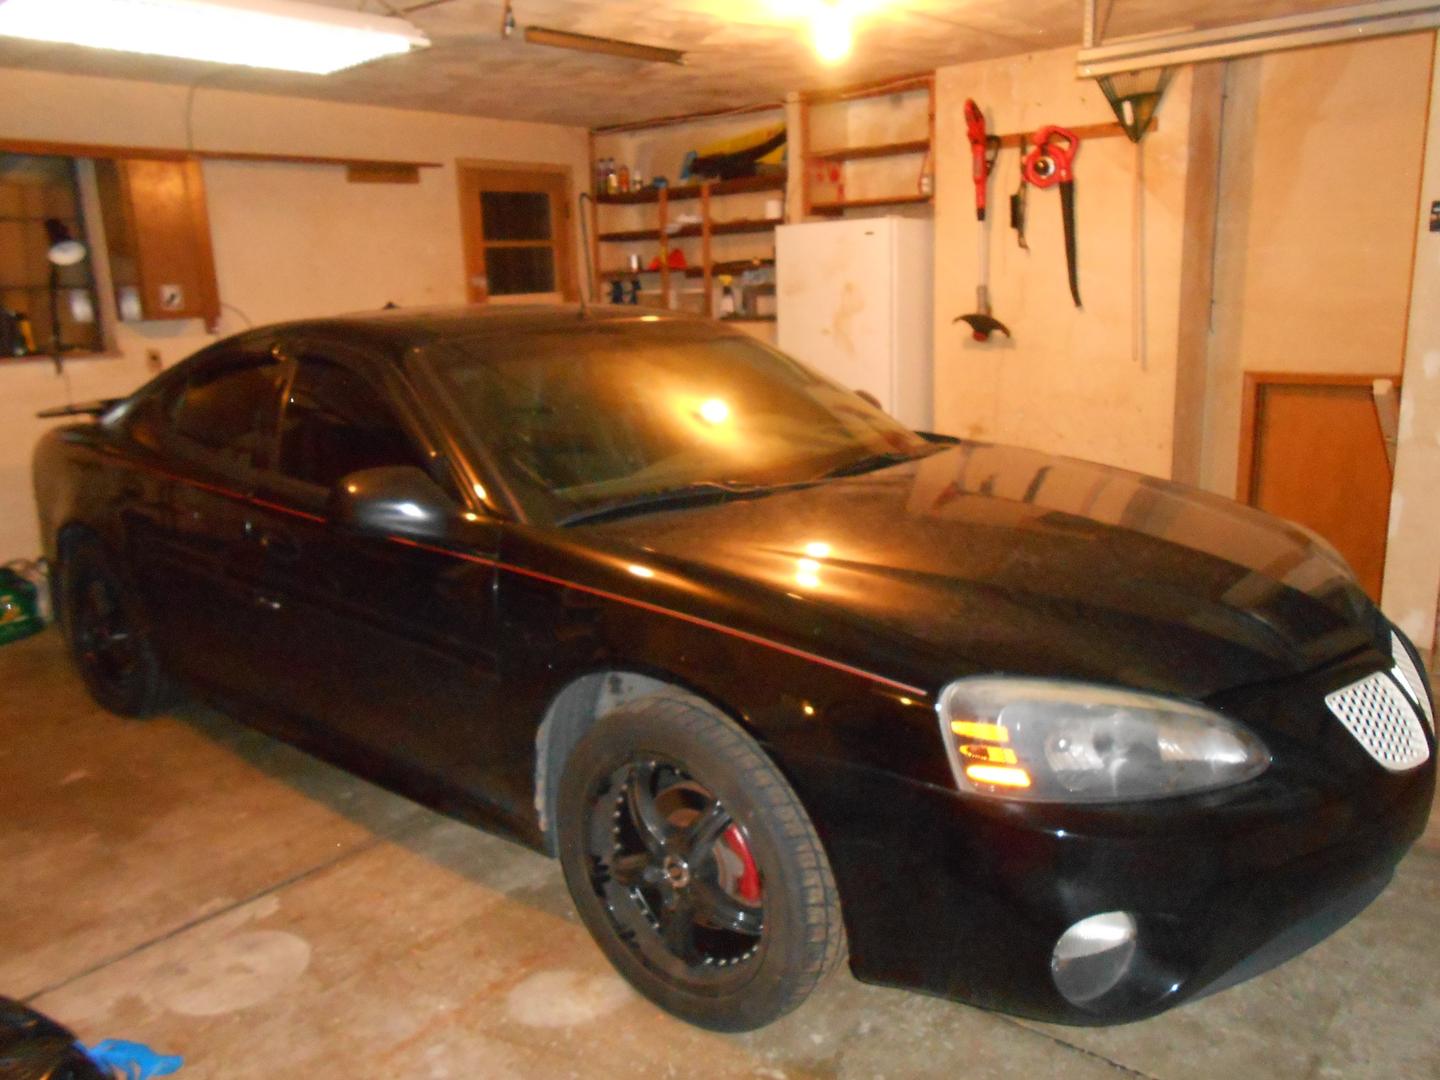
This is my 2004 GTP CompG. I bought it in 2007. My first car that cost more than $2000. The first car I ever bought from a dealership. The first car I ever had that was actually "fast". The first car I ever had with a sunroof, and every single option possible from the factory including tap-shifters, red calipers, heads-up-display, leather, disc changer, and heated seats. I added custom grilles, tint, tail-light covers, rain guards, mud flaps, bigger wider wheels, aftermarket spoiler, alarm, and of course my first CarPC.
This car died in November of 2014 while I was driving from Detroit to Pittsburgh for a work trip. It died near the Ohio / Pennsylvania border on a Sunday morning.
The project begins on May 28 of 2015. Finally warm enough to start looking at the car, and I left a job that I hated so I would have more time for projects.
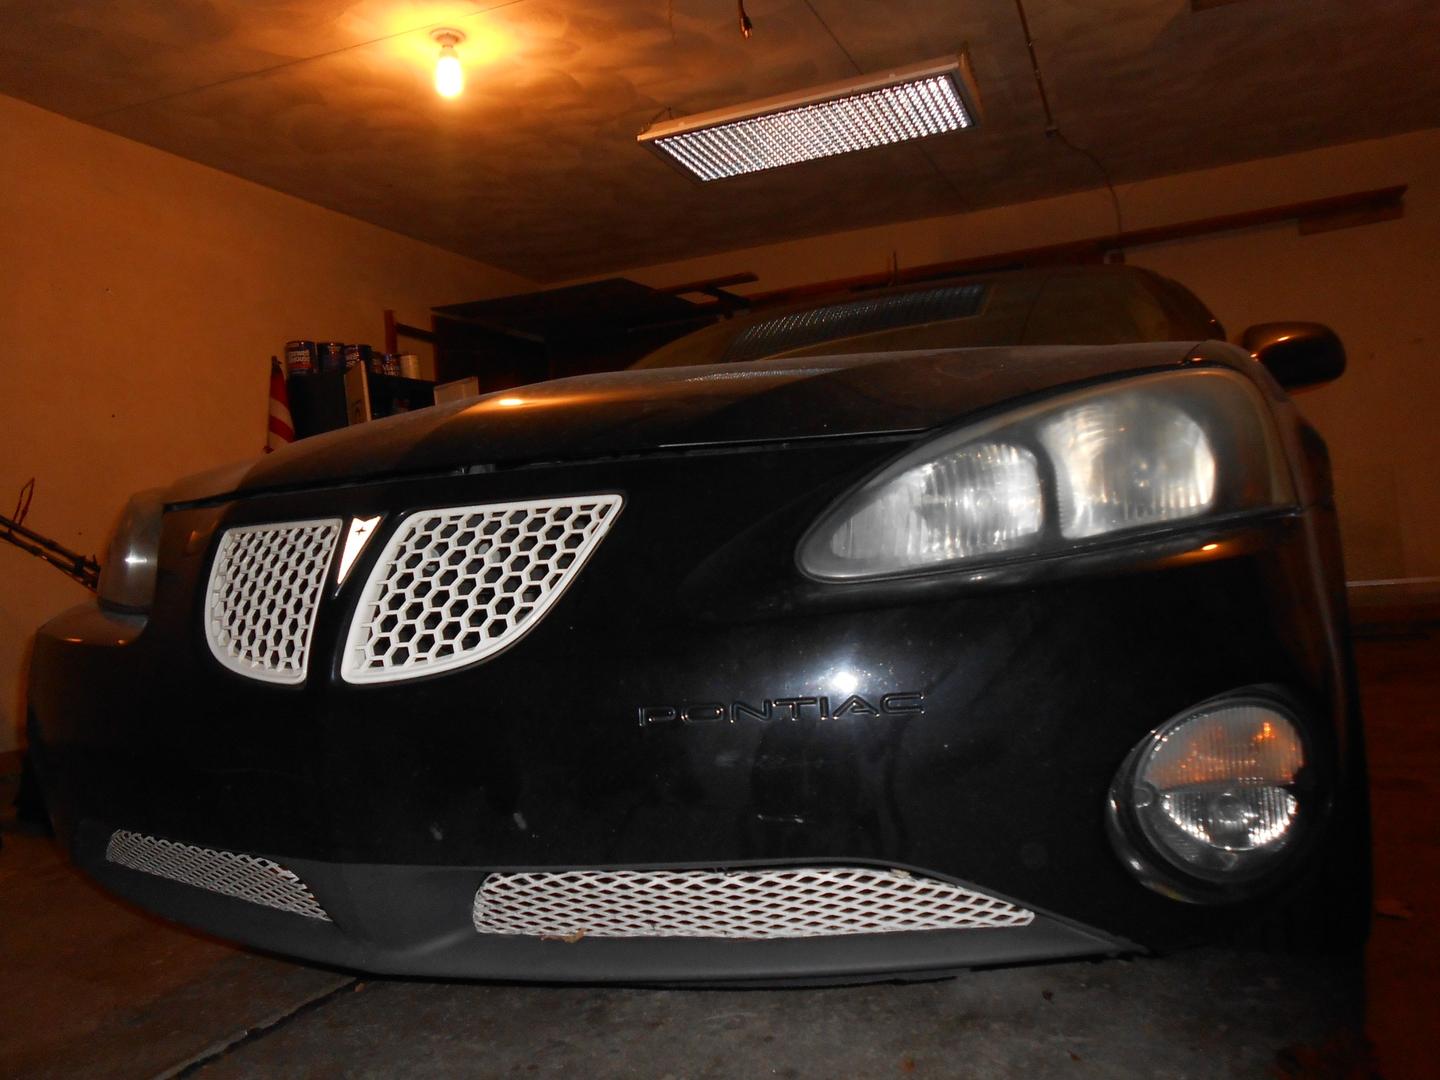
The top grilles are OEM Special Edition grilles. The lower grilles are aftermarket and originally reflective-white. The Pontiac emblem just has a reflective-white sticker on it.
Black wheels
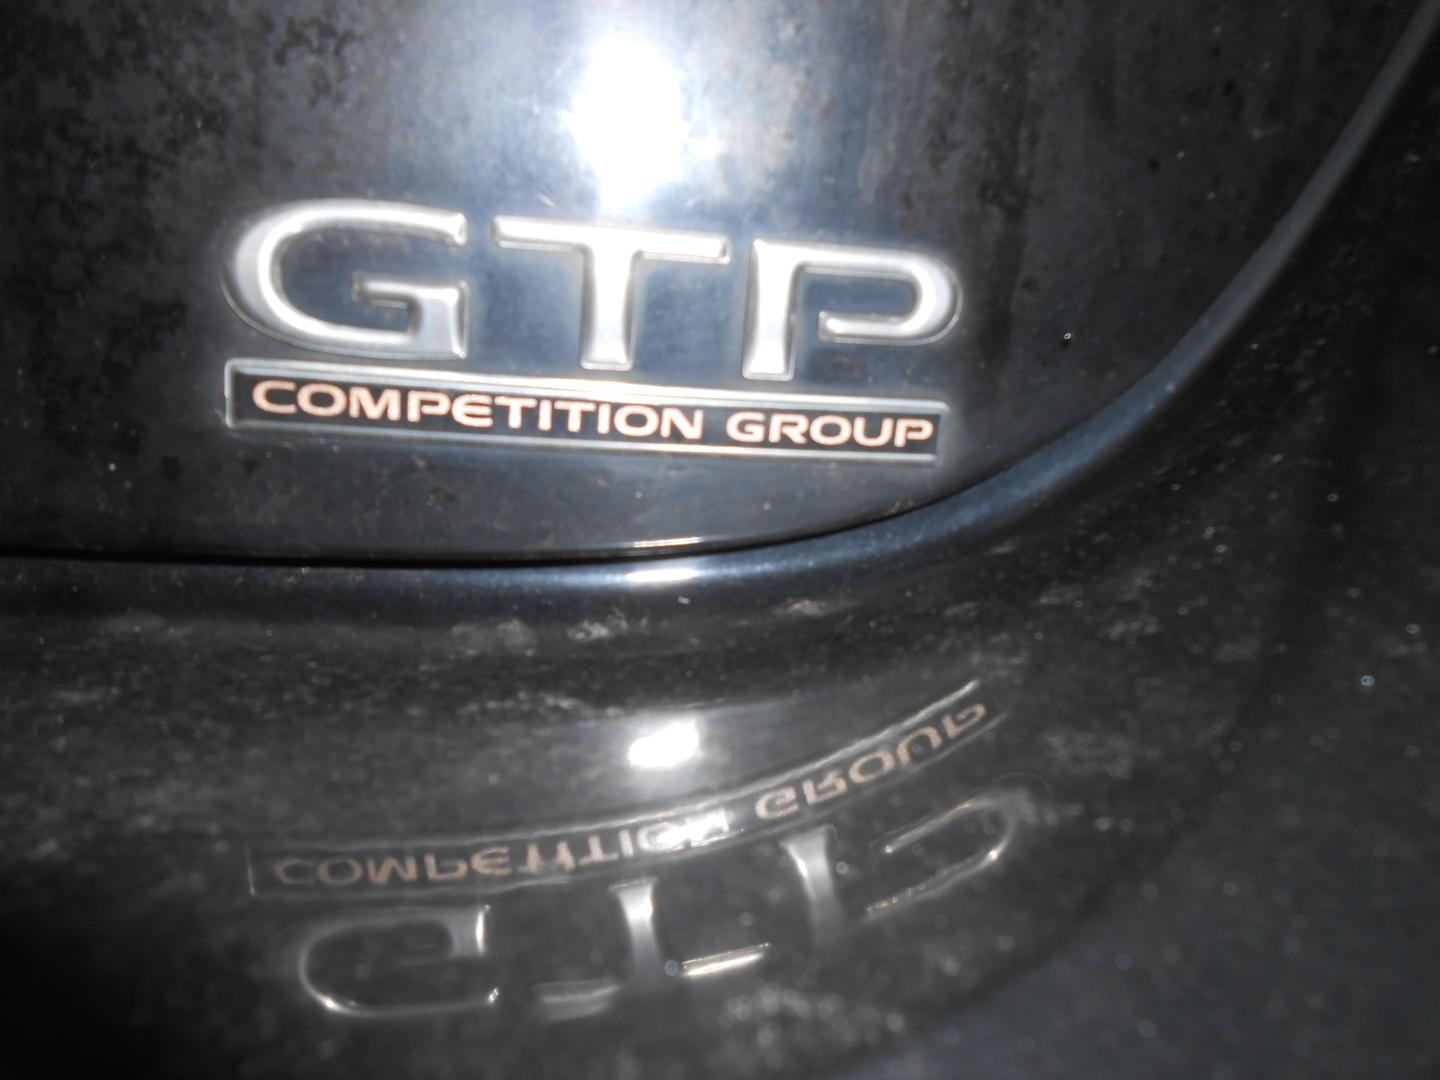
The GTP emblem. A regular Grand Prix was quick. The GTP was downright fun.
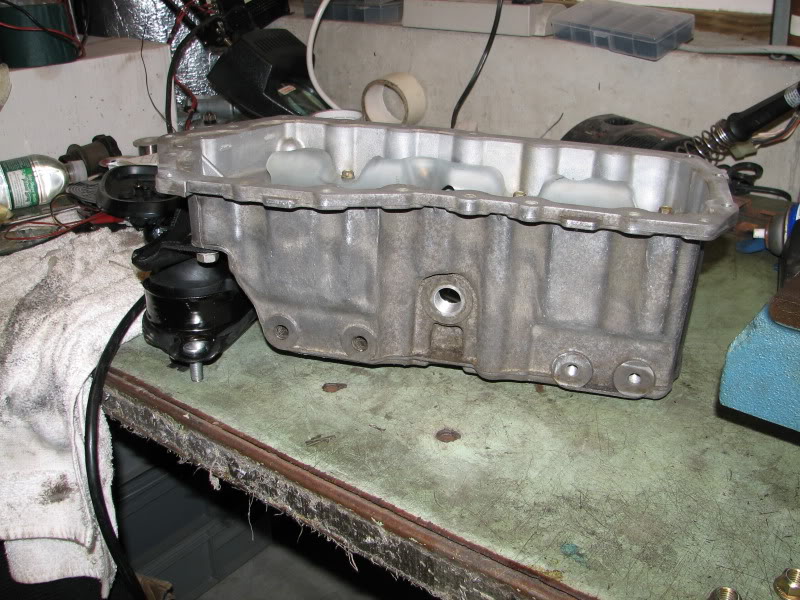
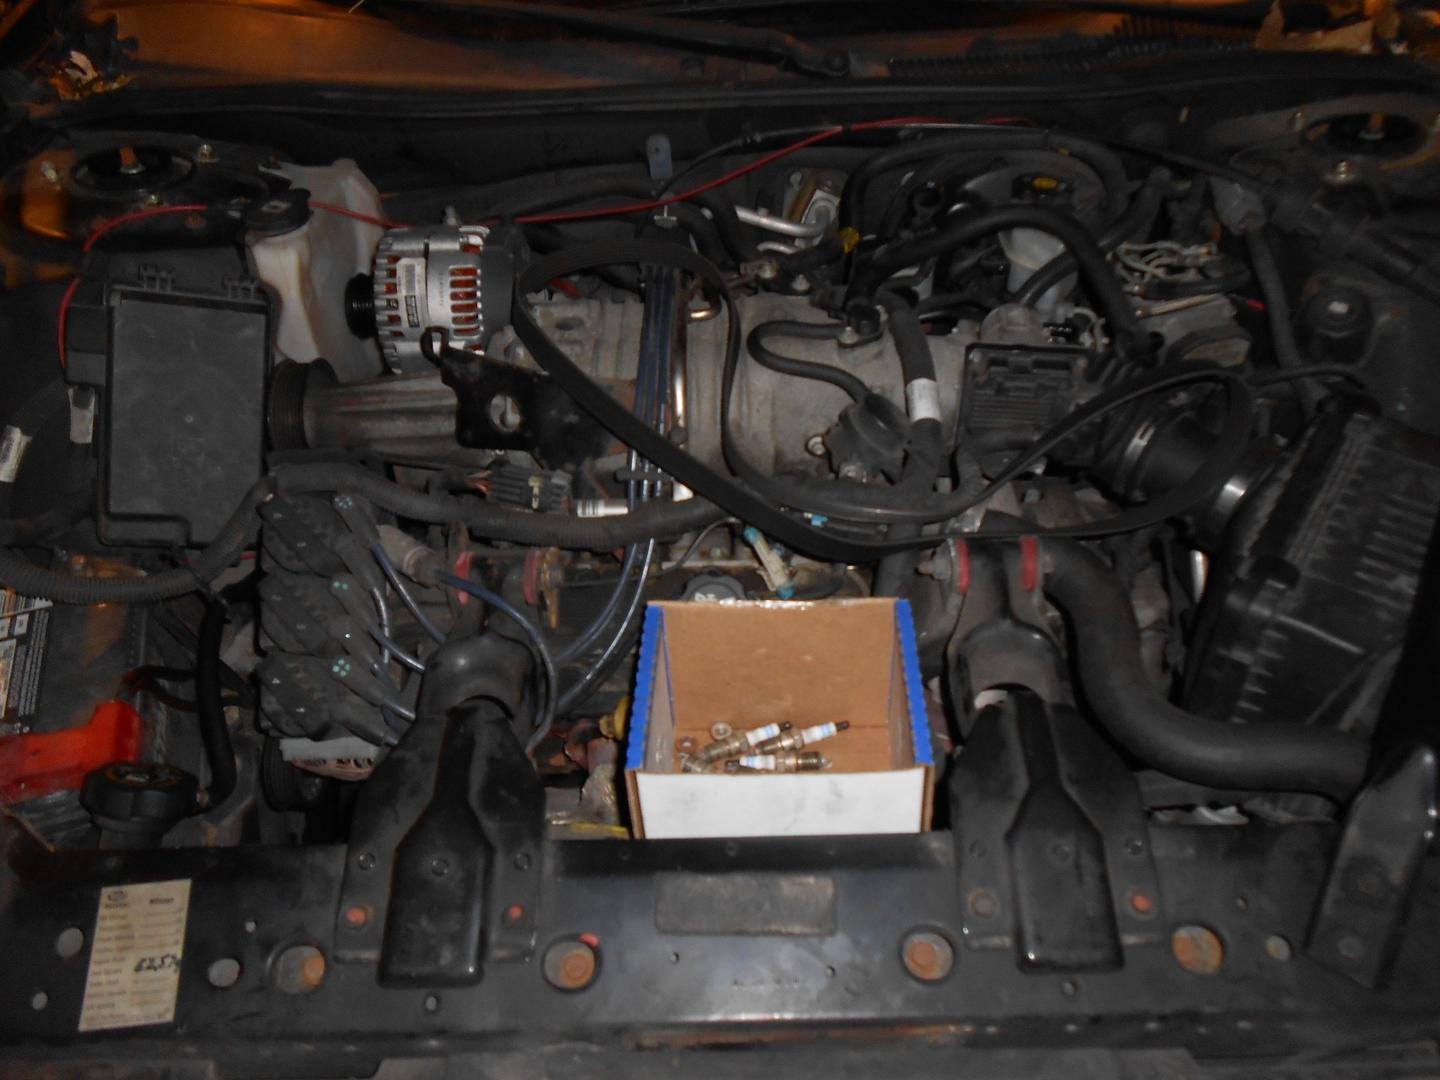
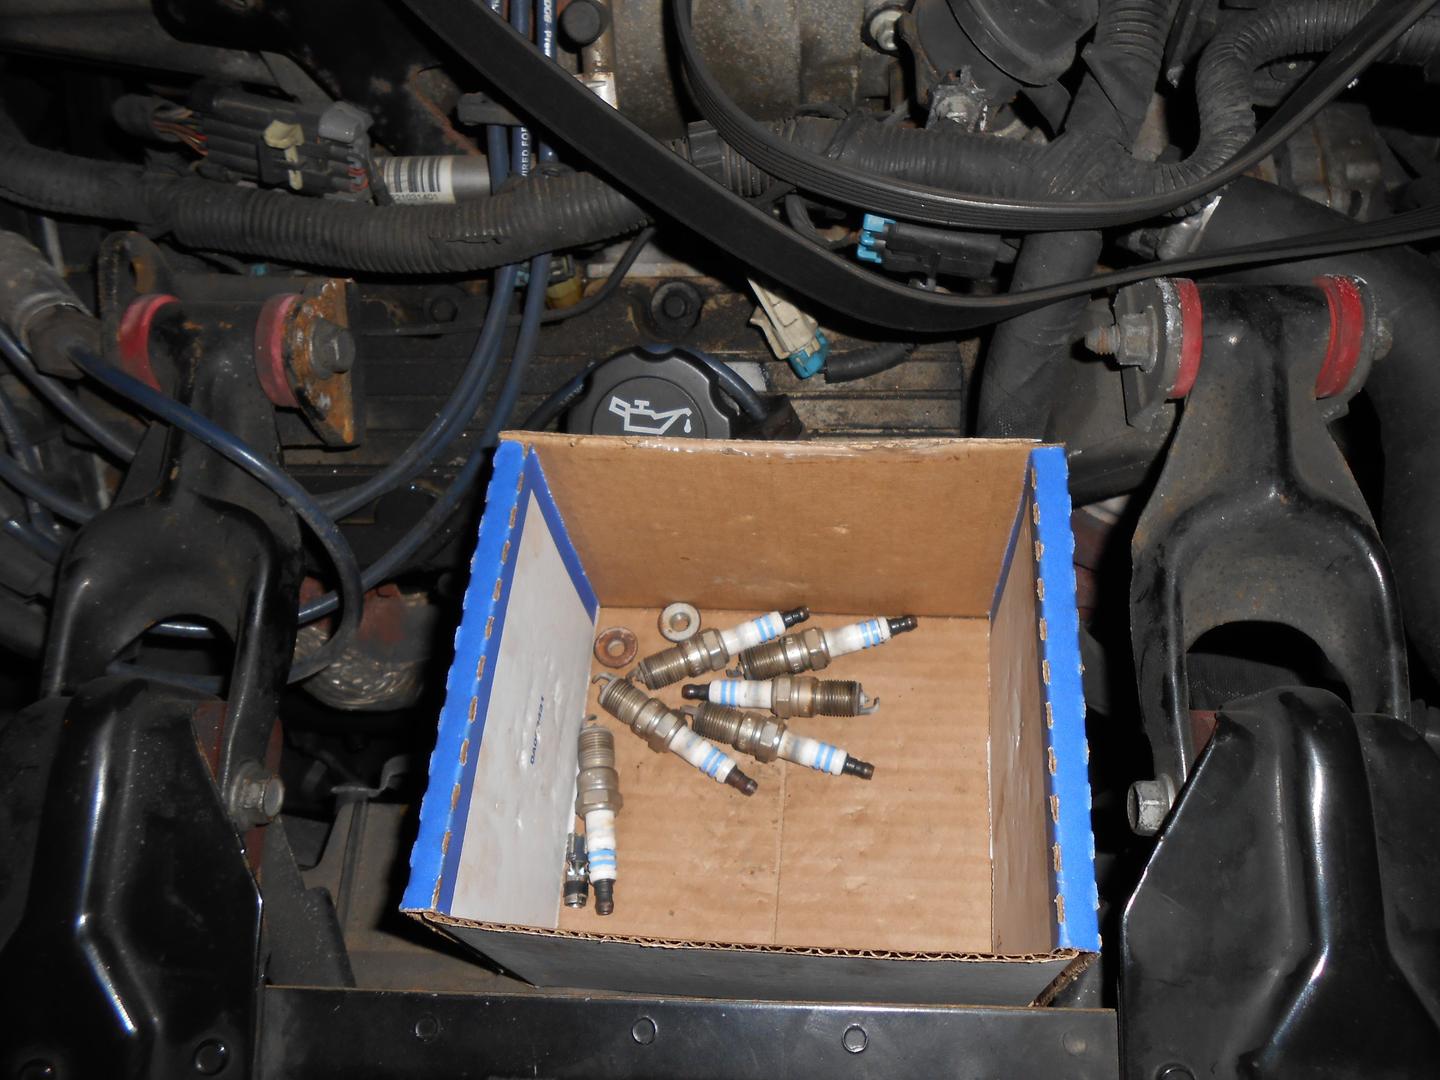
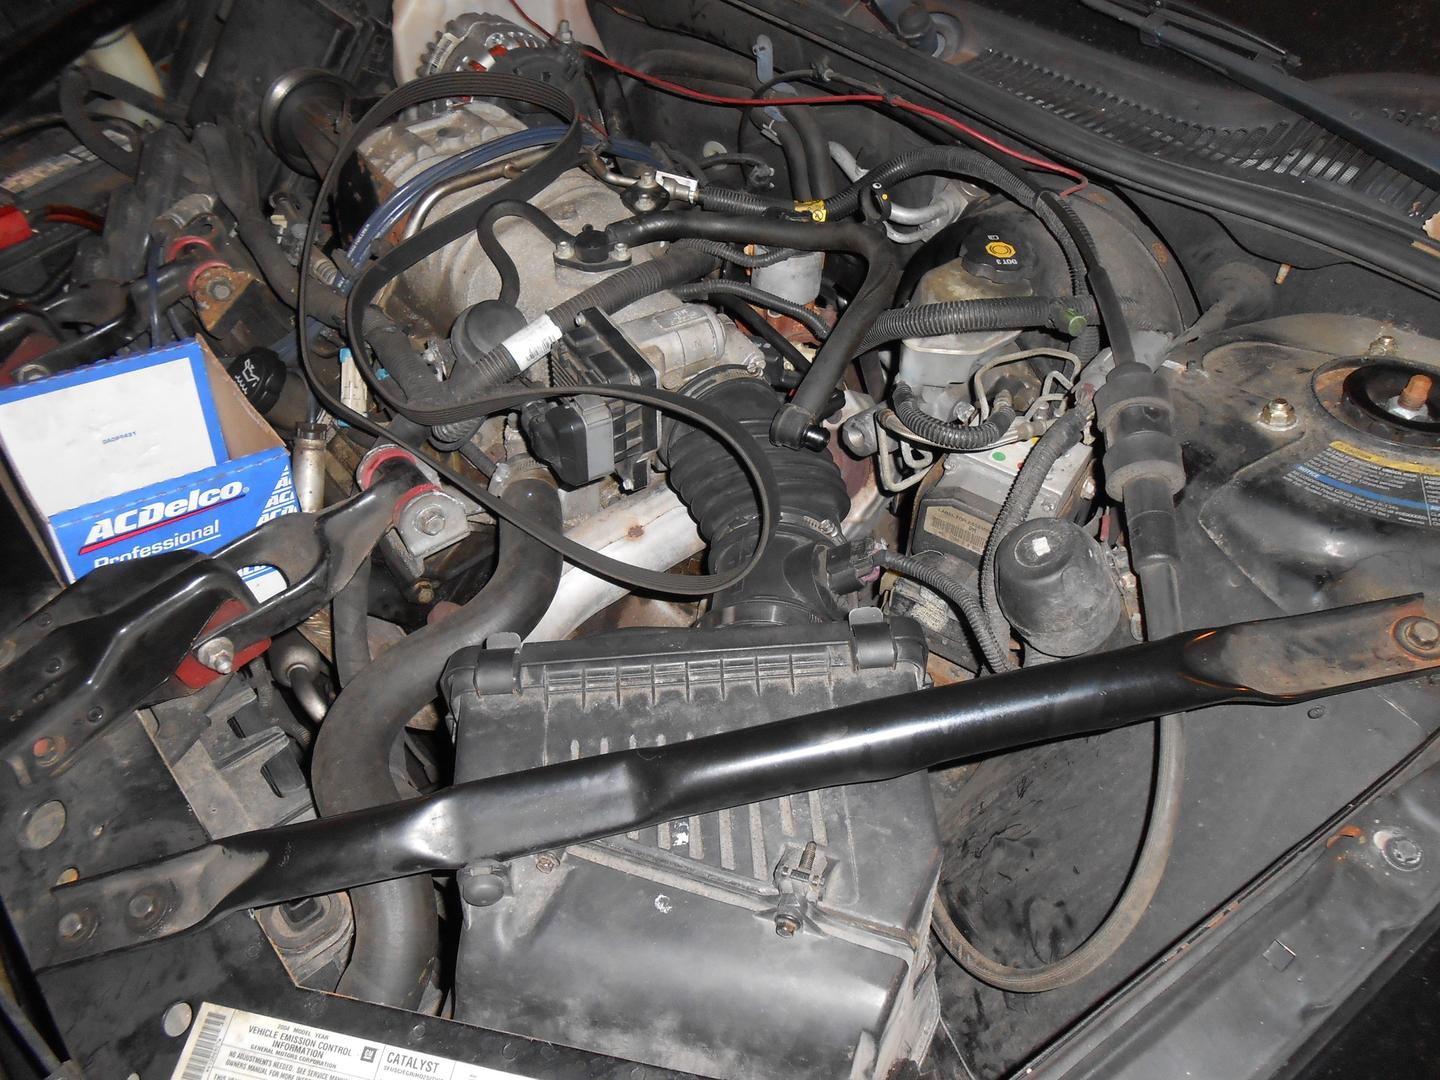
After having the car towed hundreds of miles and paying the tow truck driver $700 cash, here's what I find under the hood. A box of spark plugs.
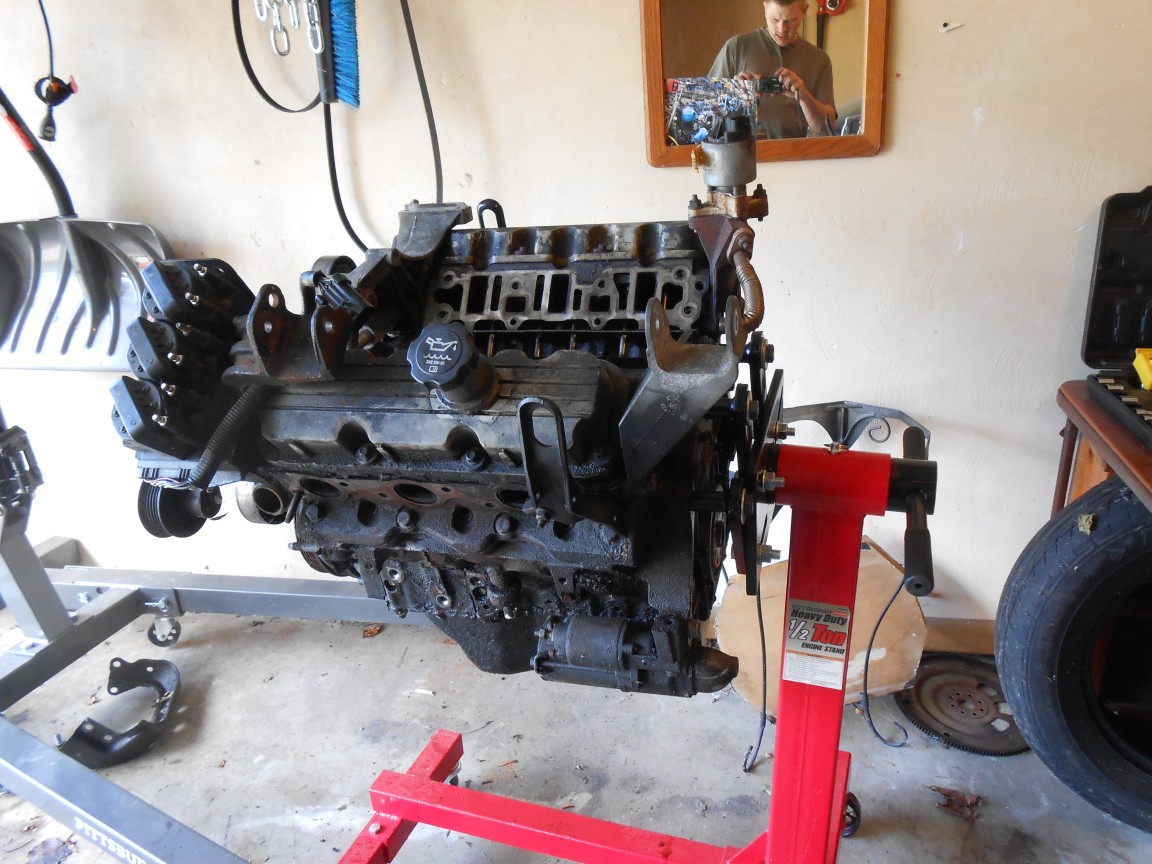
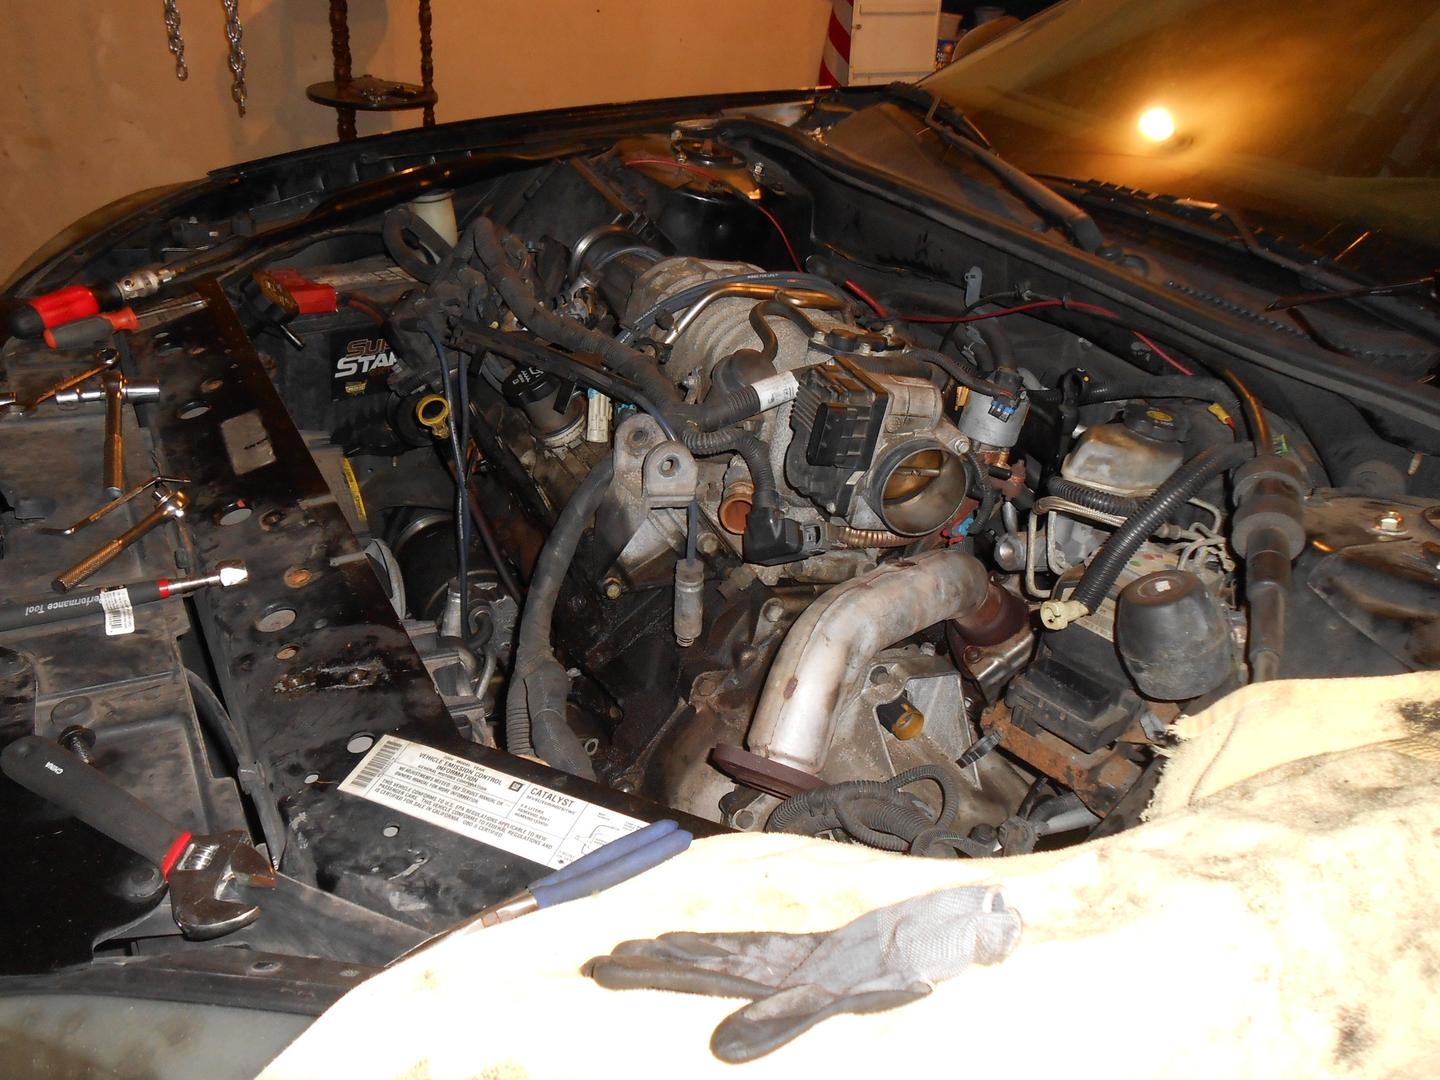
I didn't have any tools for working with an engine. So, time to spend some money. First, the engine stand.

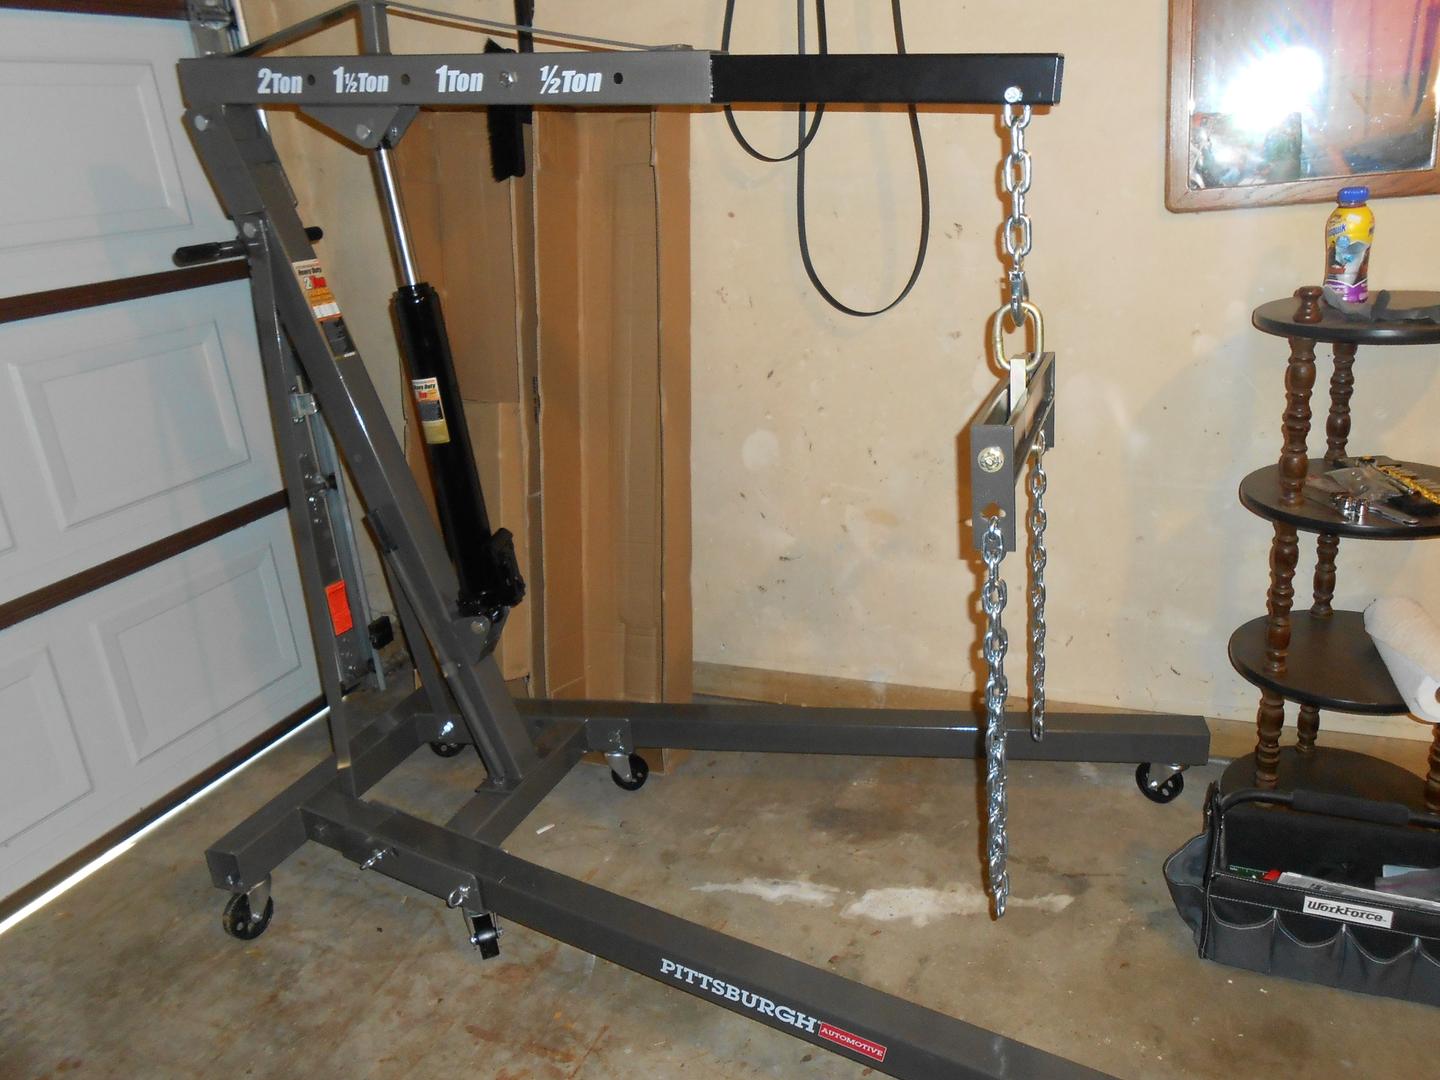
Engines are heavy. So I bought a hoist.
Here's a creeper I bought and never used. I didn't really like spending that much time under the car.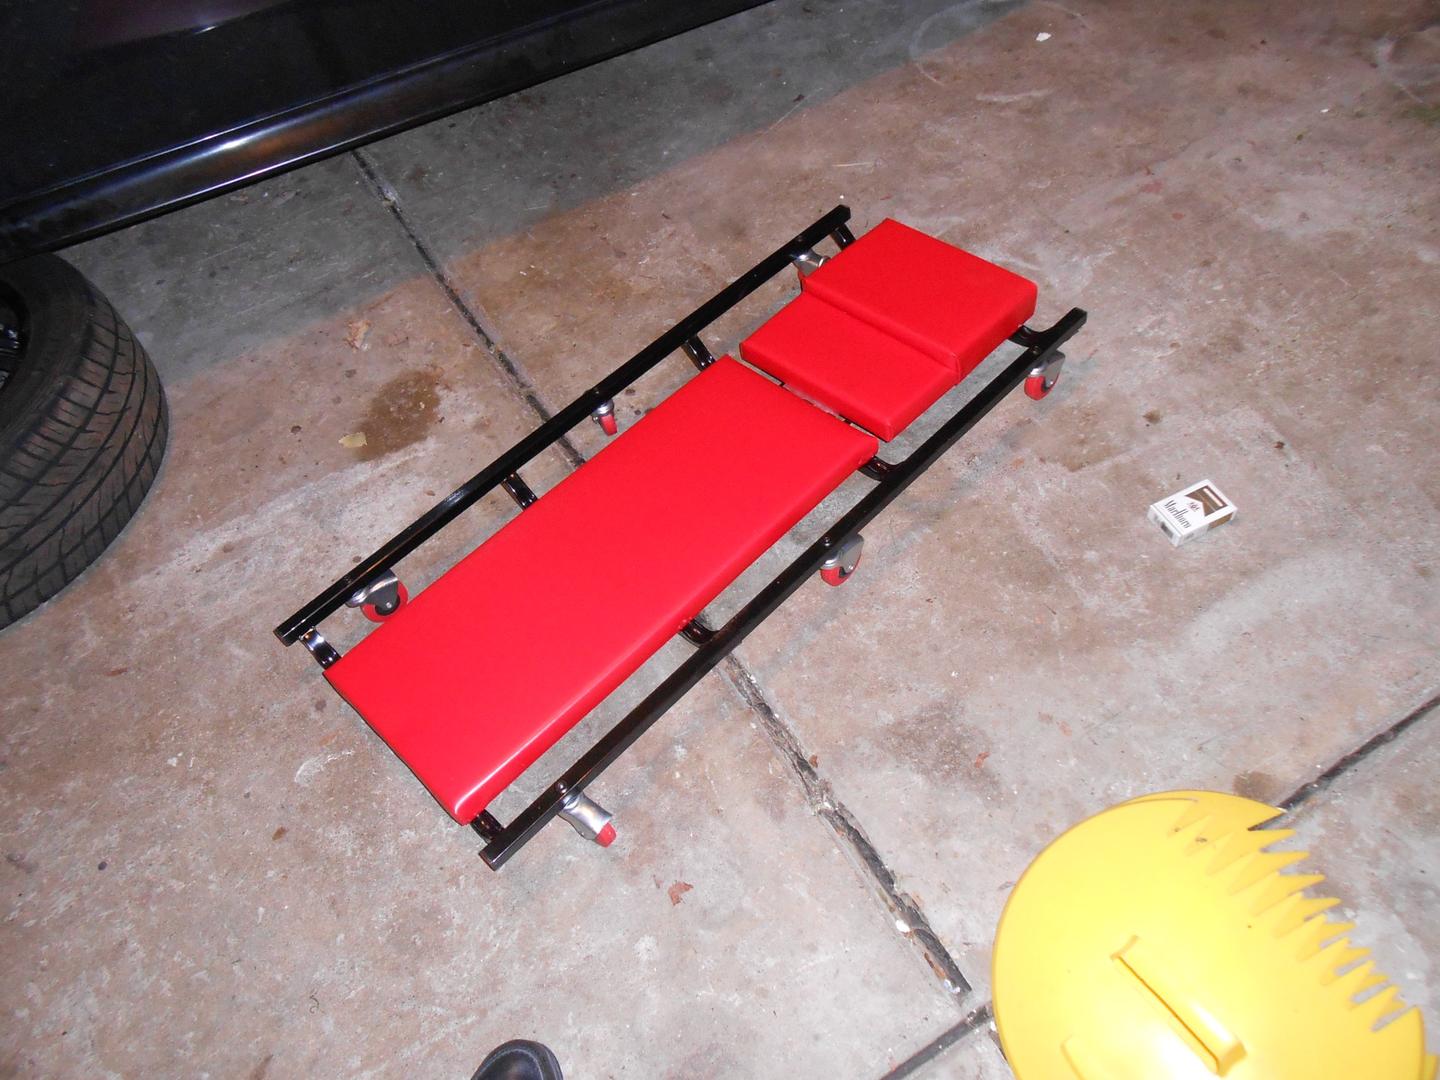
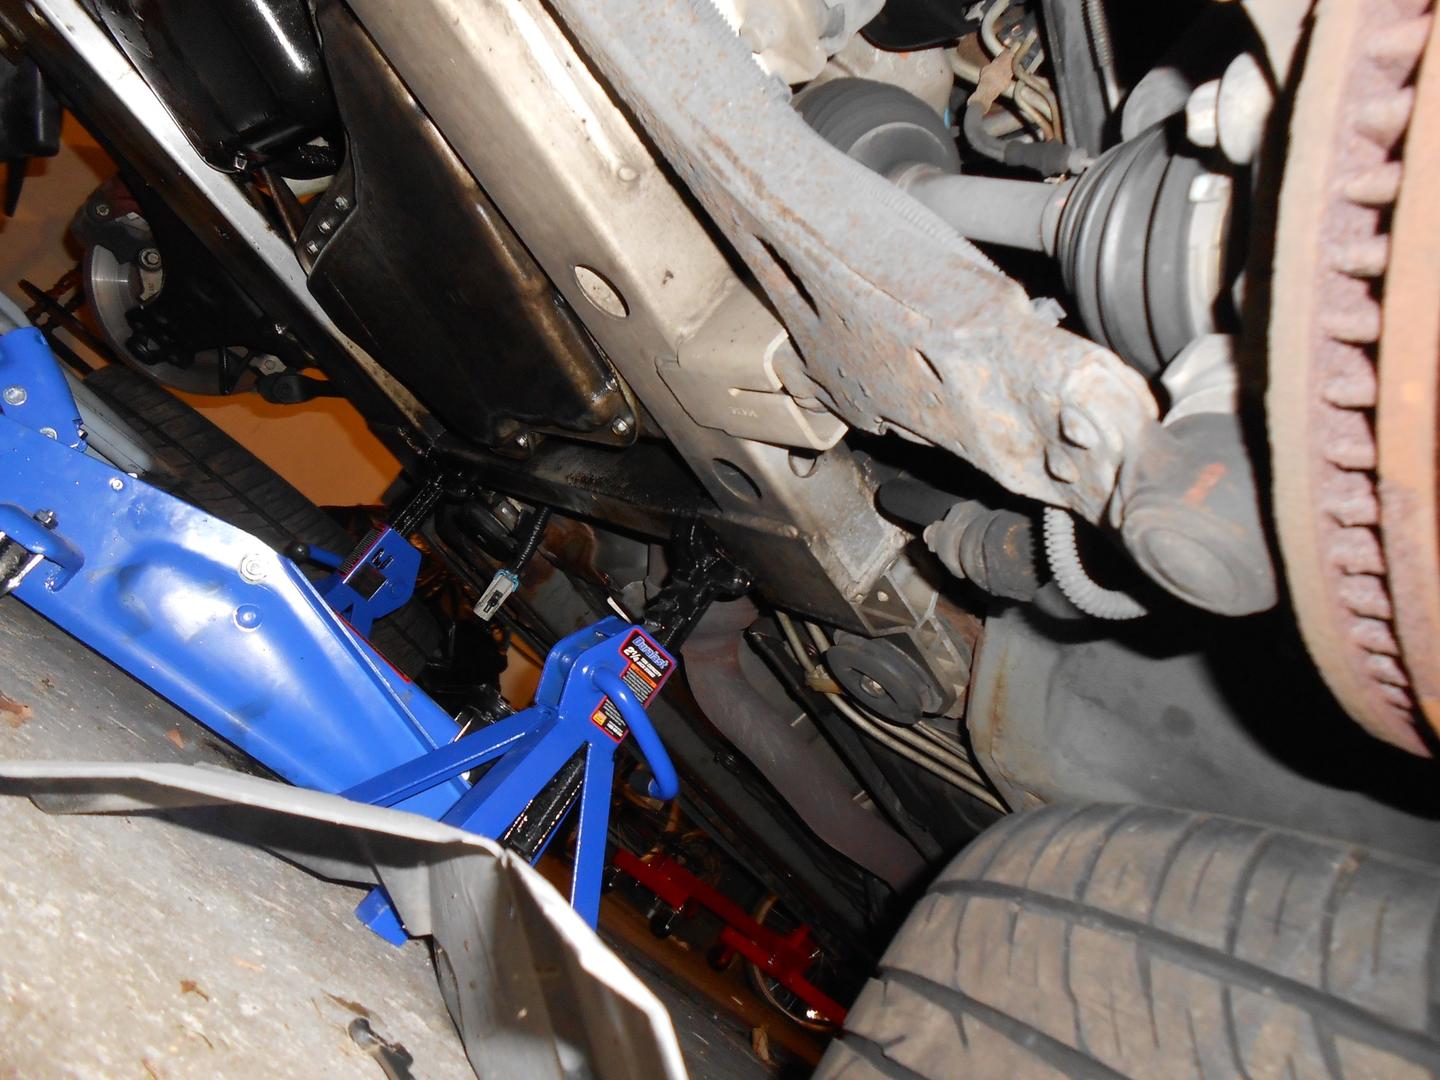
And extra set of jack stands. I already had the floor jack.
2015-05-29
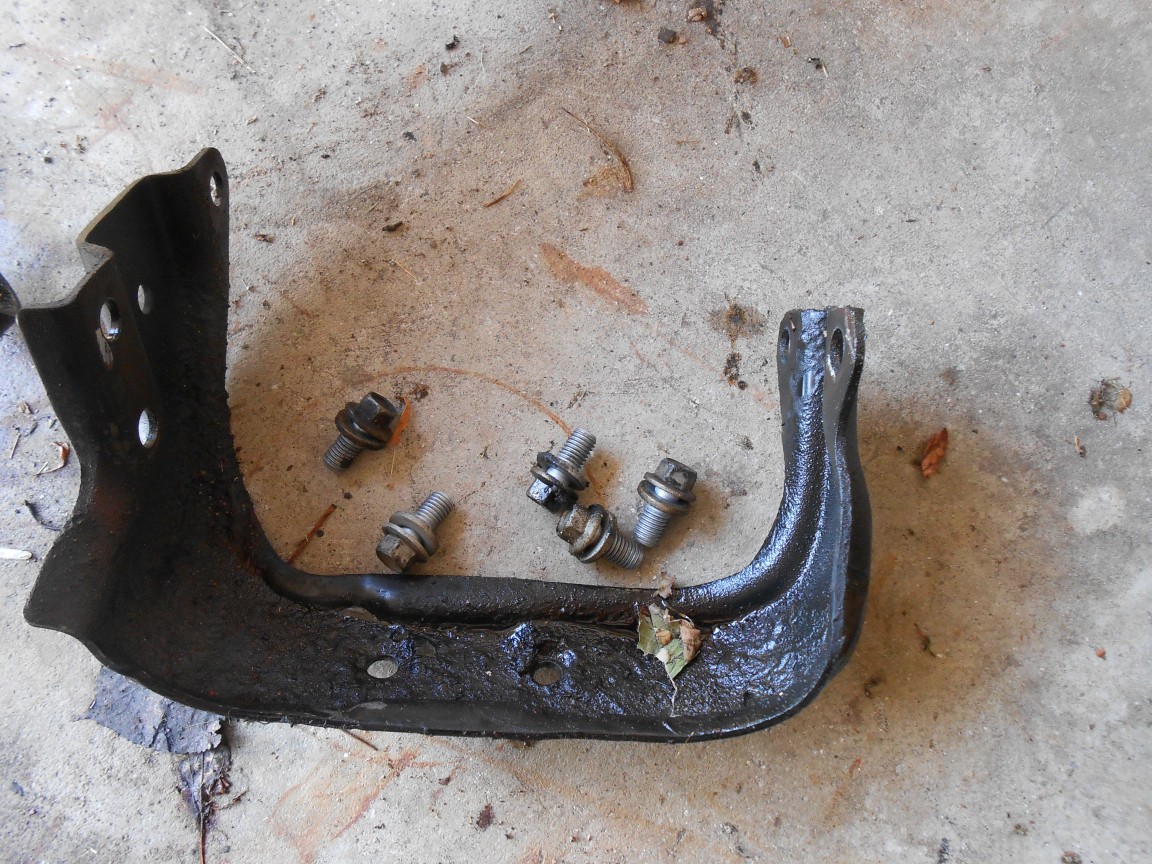
The first thing to do is to take off the support on the driver's side, and then remove the air intake. Easy peasy lemon squeezy.
The front exhaust manifold needs to come off (in my opinion).

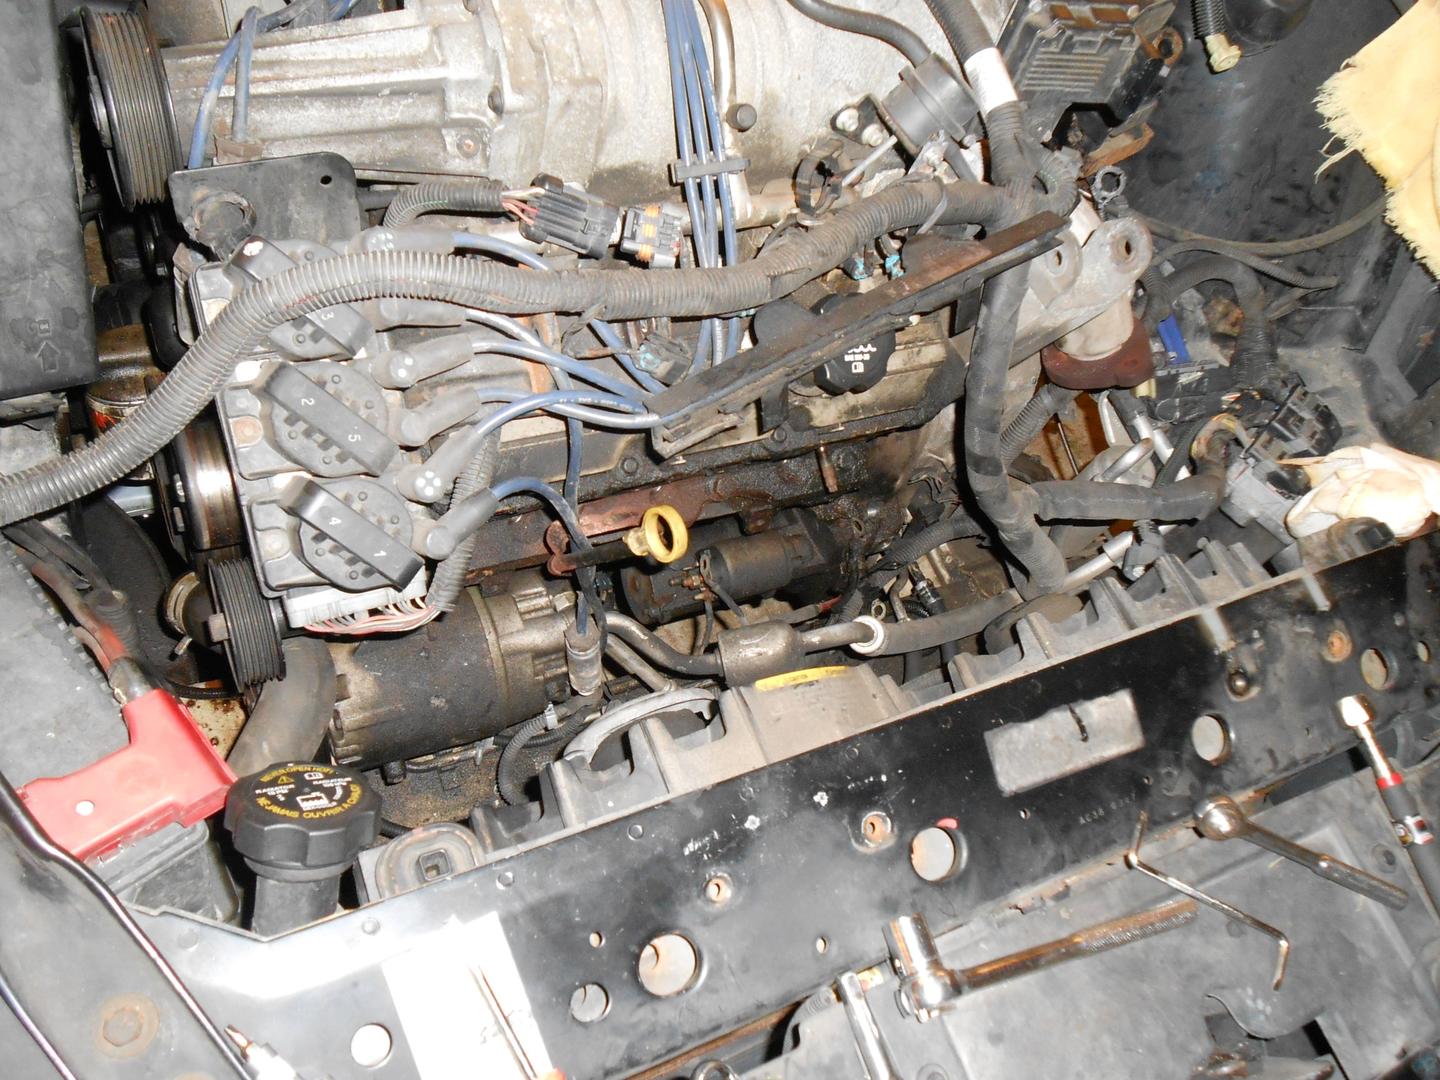
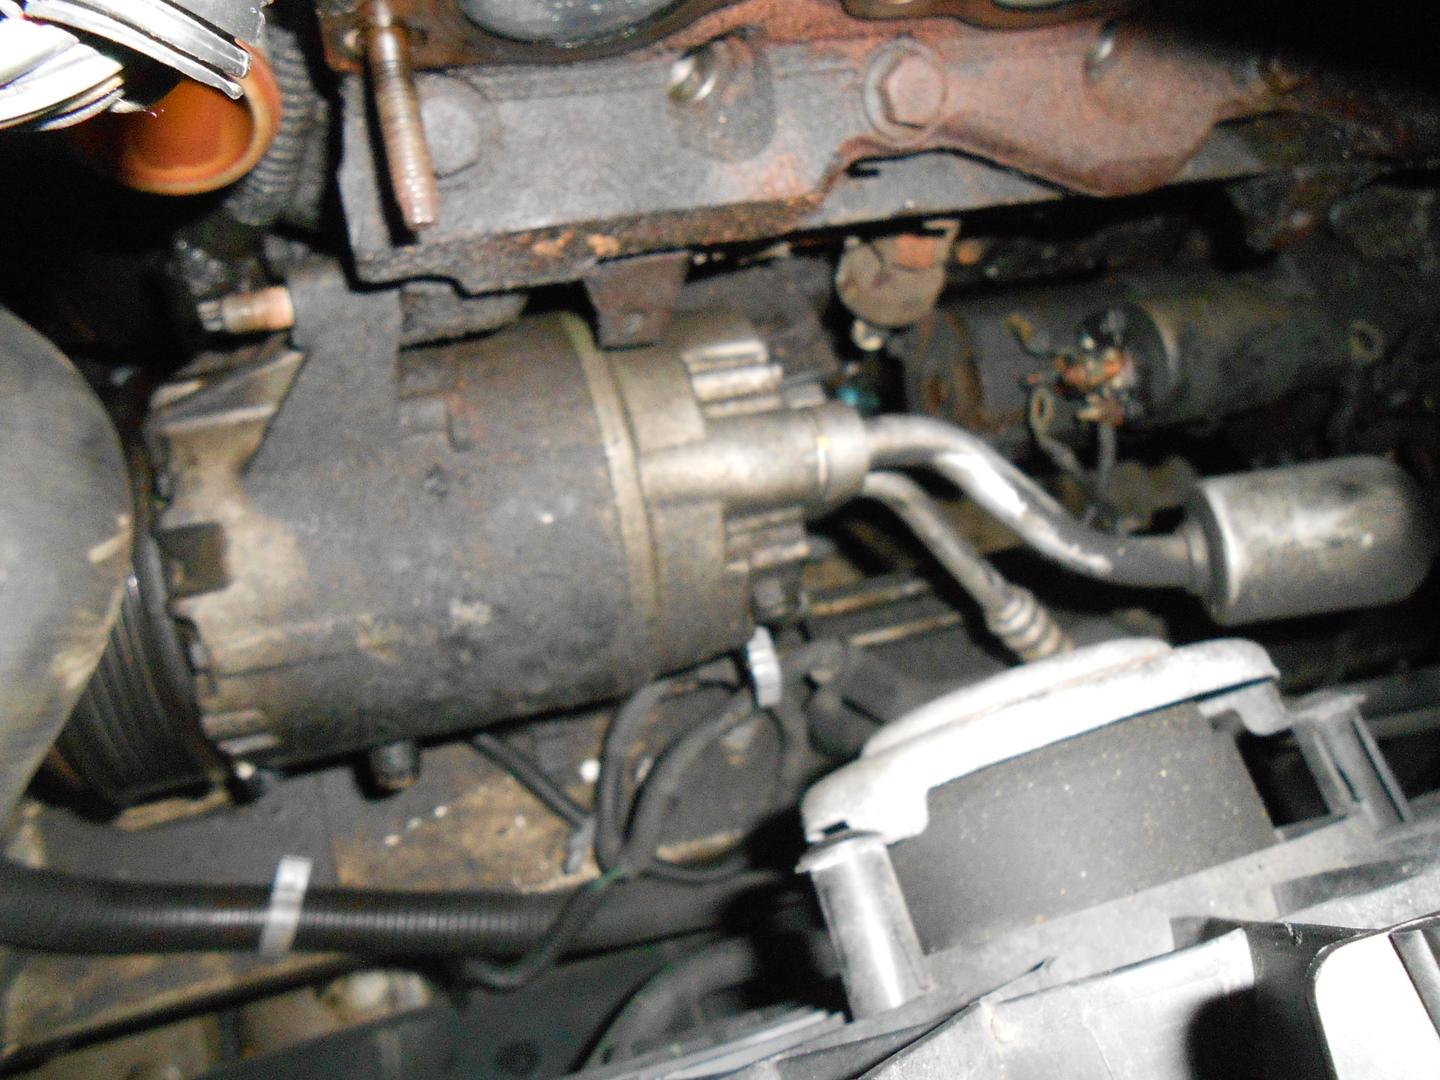
Now I can see down to the AC compressor and starter
I removed the hood with some help from the wife. Not a one-man job. Removed front wheels and put the under the vehicle for additional safety.

2015-06-07
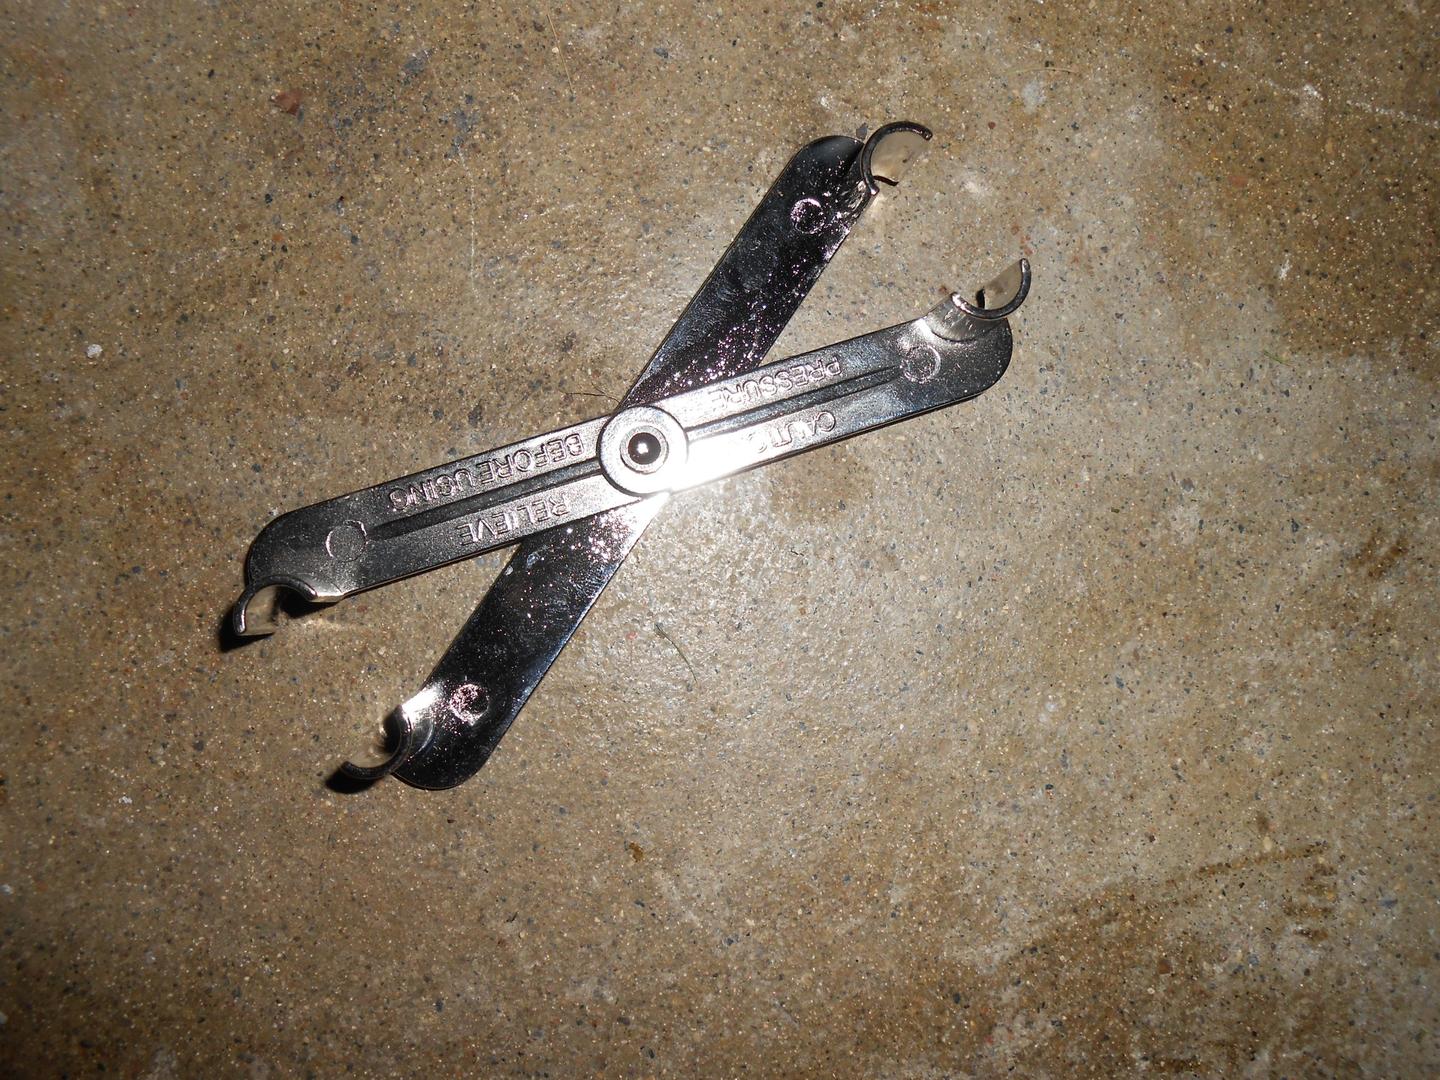
In order to disconnect the fuel line from the fuel rail on top of the engine, a special disconnect tool is required. Just a few bucks at AutoZone.
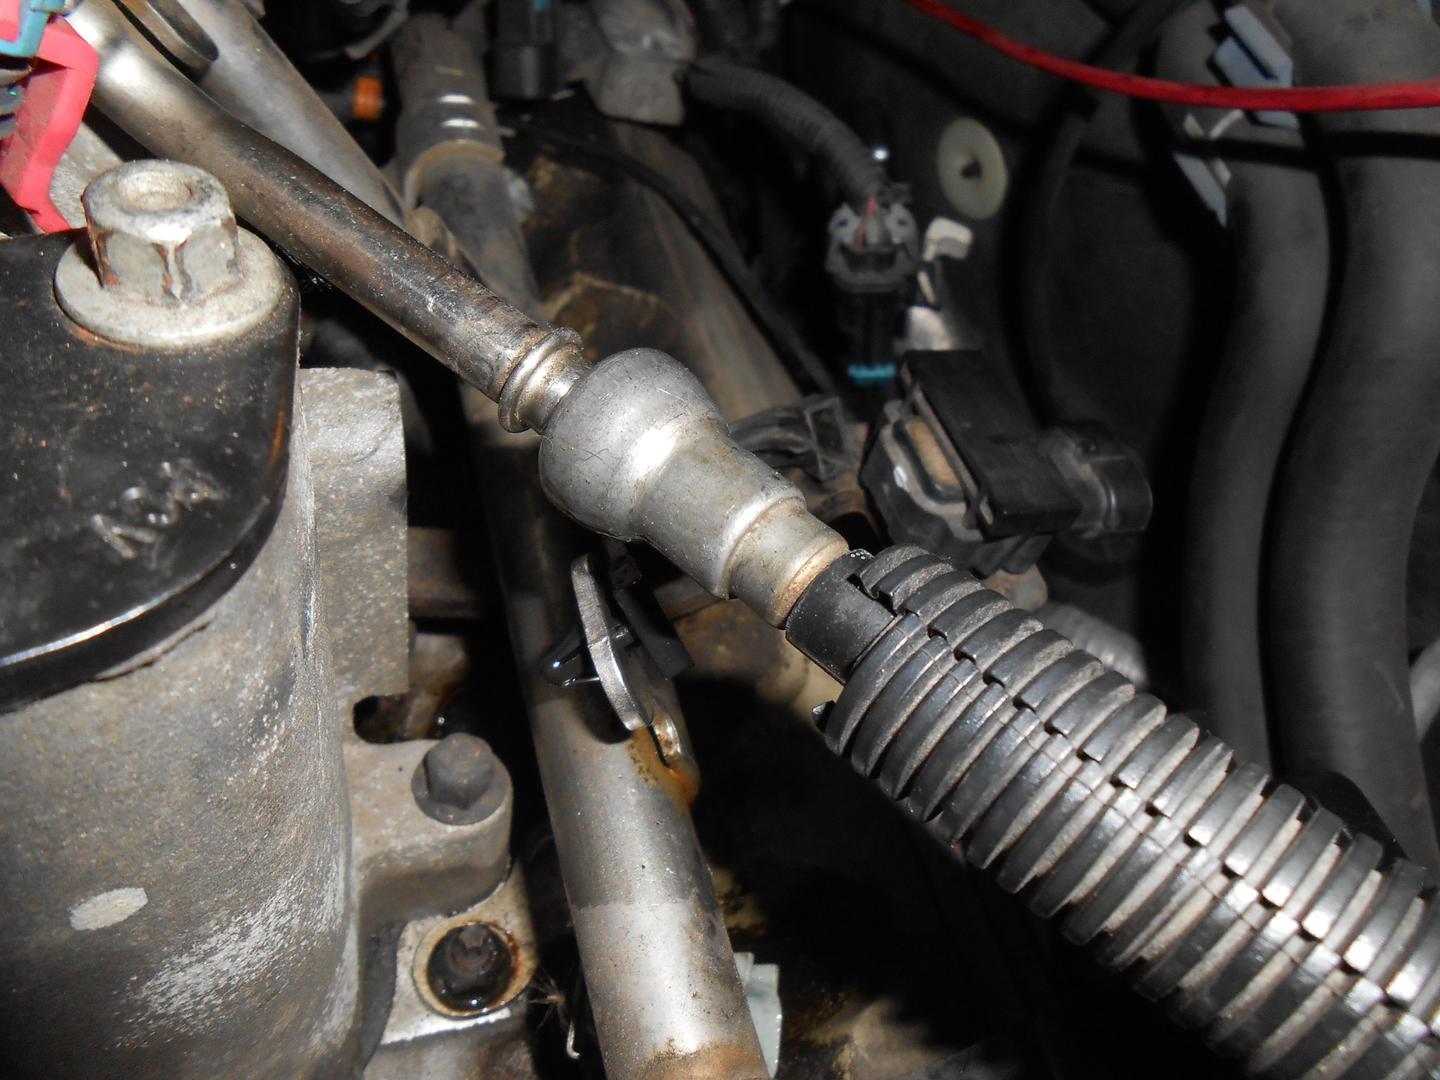
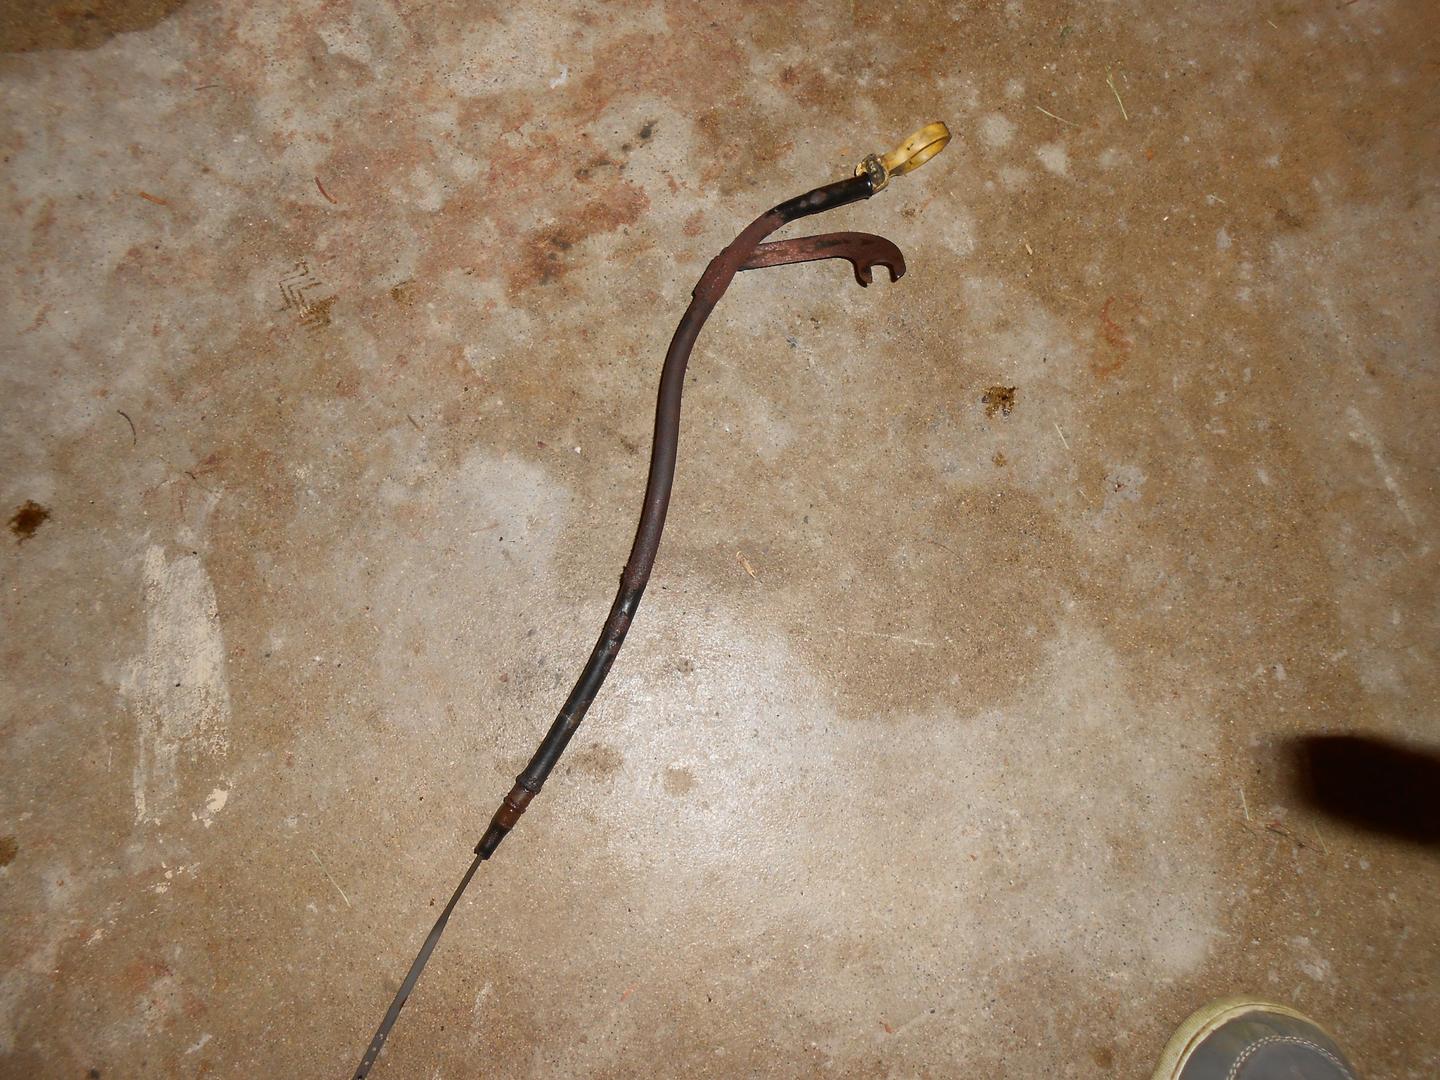
The fuel line connection also has a little bracket-clip thing, shown here.

Here's the fuel line connection with the clip removed.
Here's the oil dip-stick tube.
This is the oil filter. Looks sparkly.

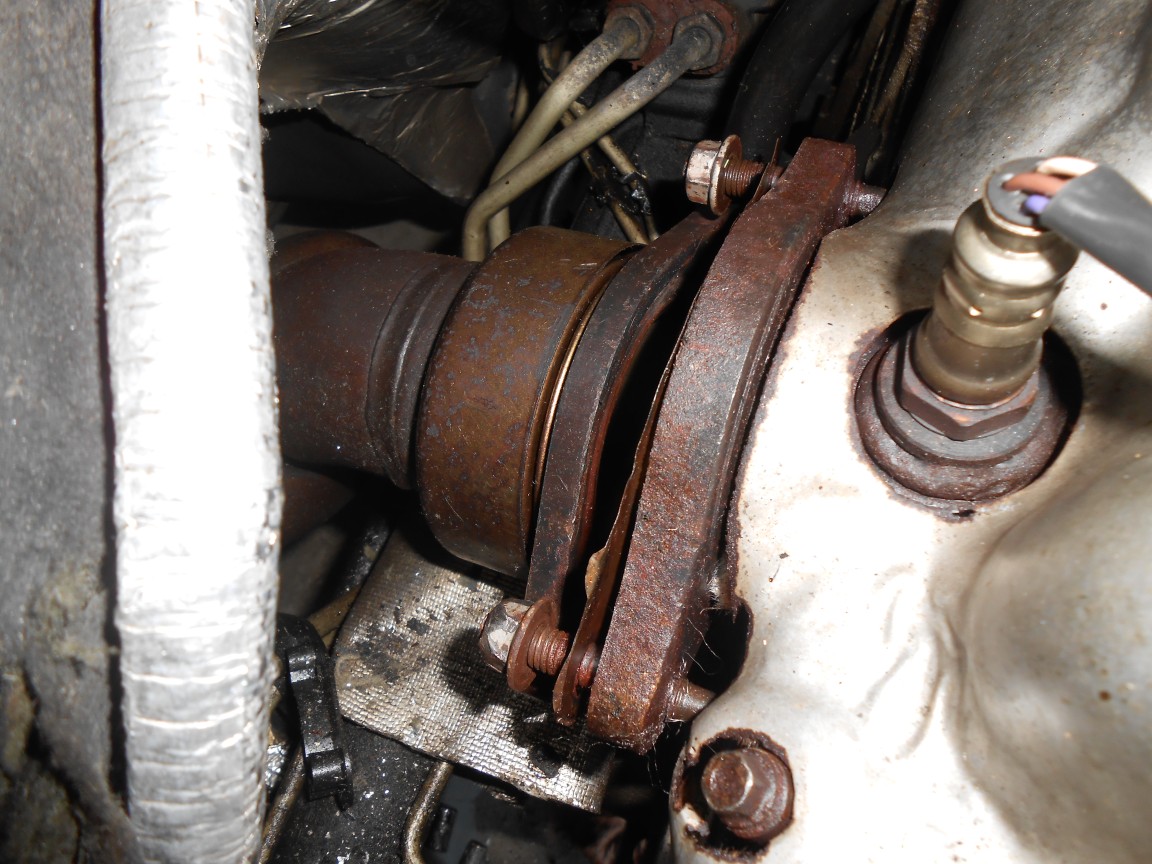
The AC system is still charged, so the plan is to remove the compressor from the engine block without disconnecting the lines.
The oil filter neck sticks out from the block and will complicate the extraction process. Probably best to remove it.

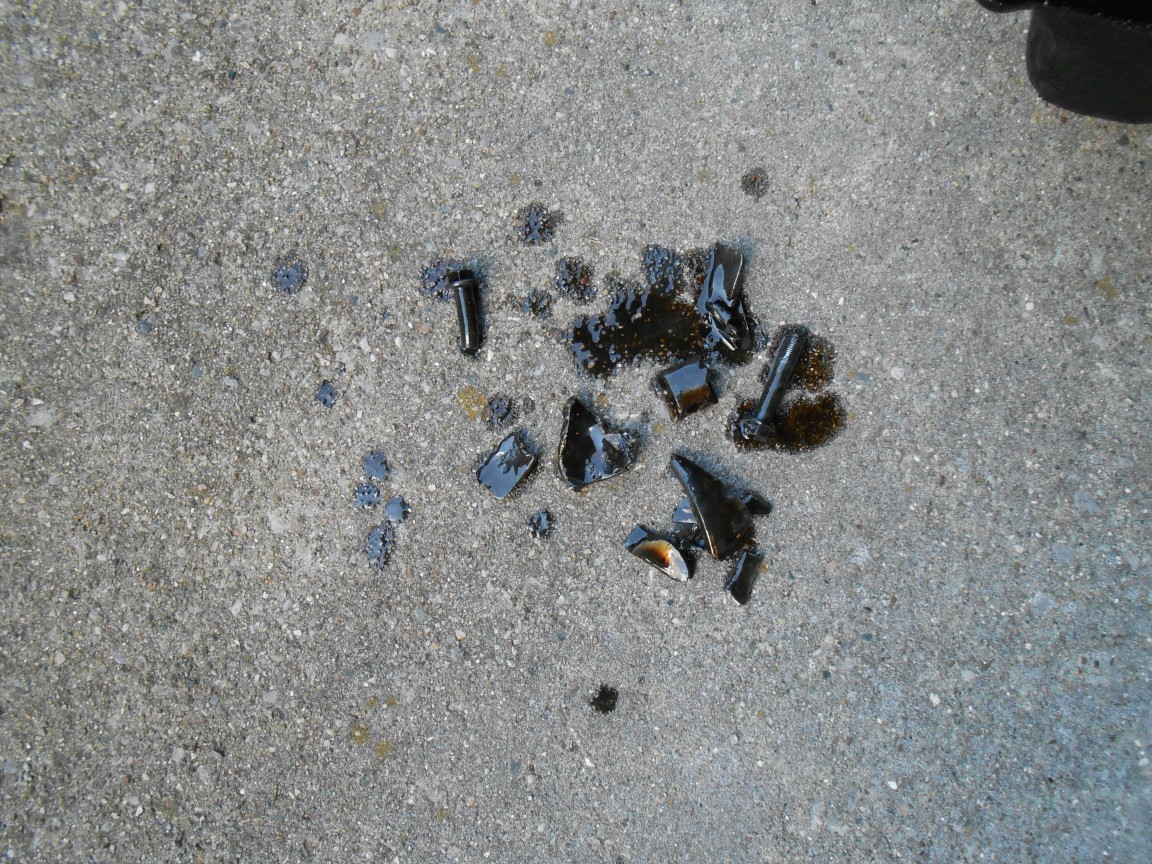
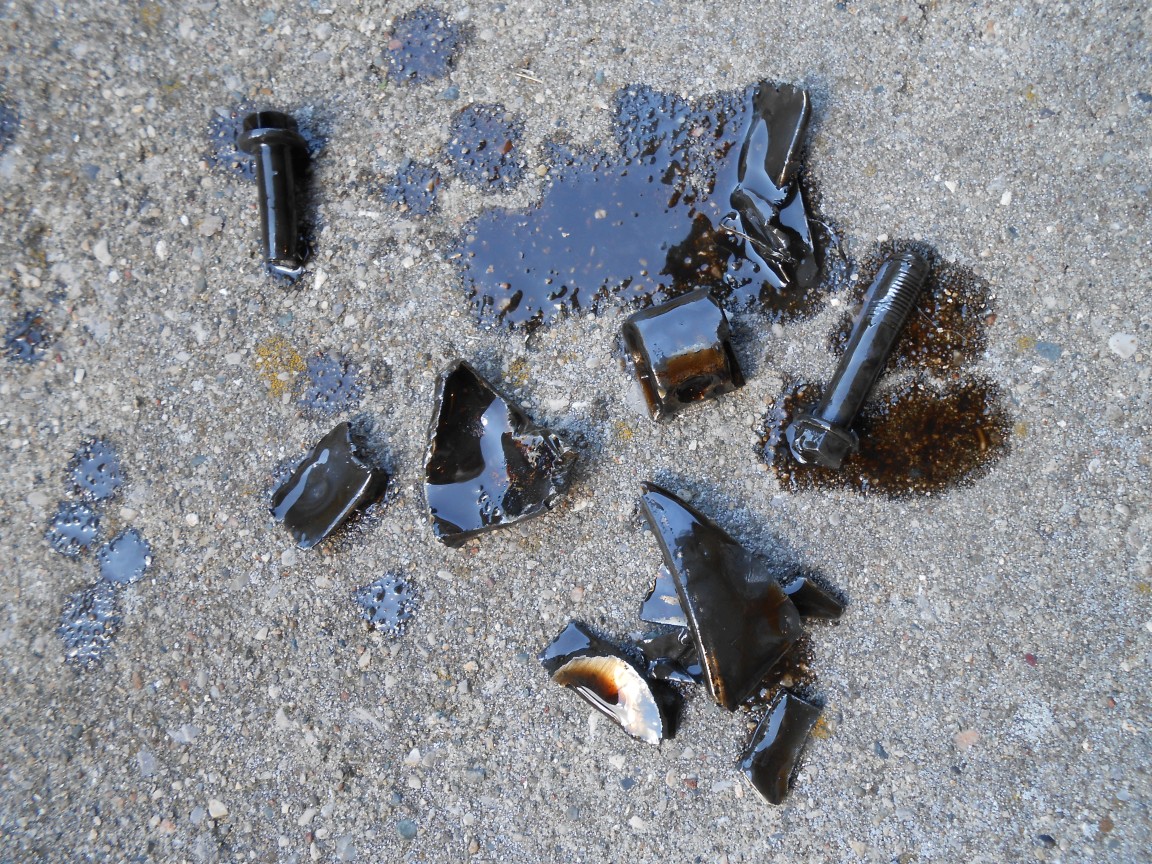
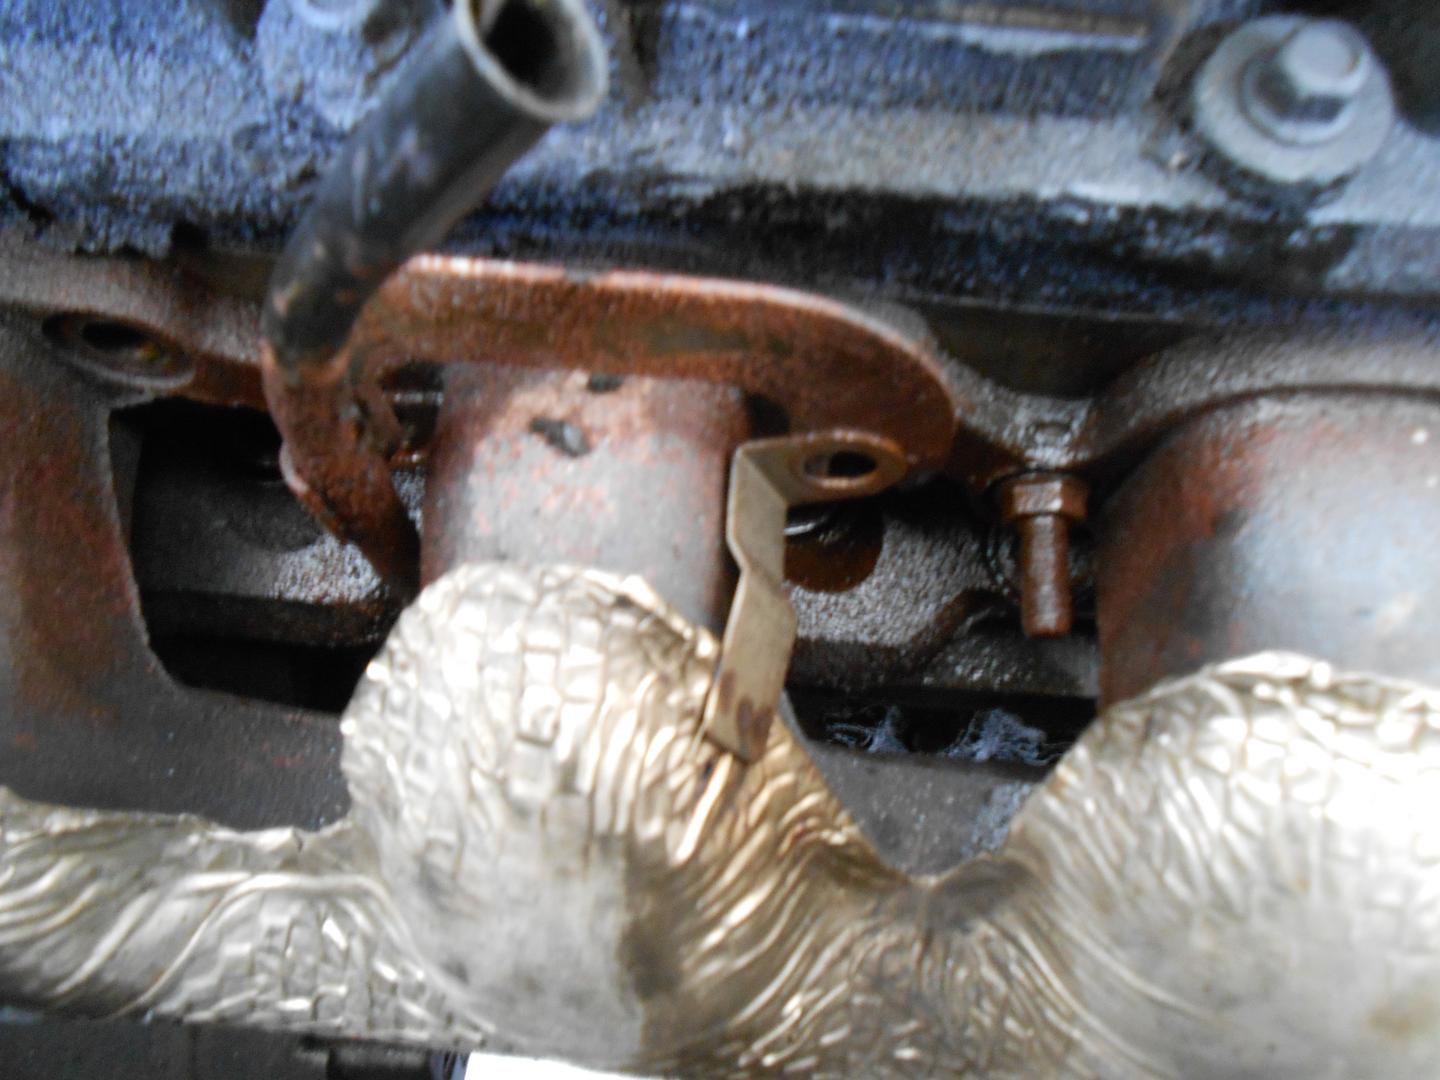
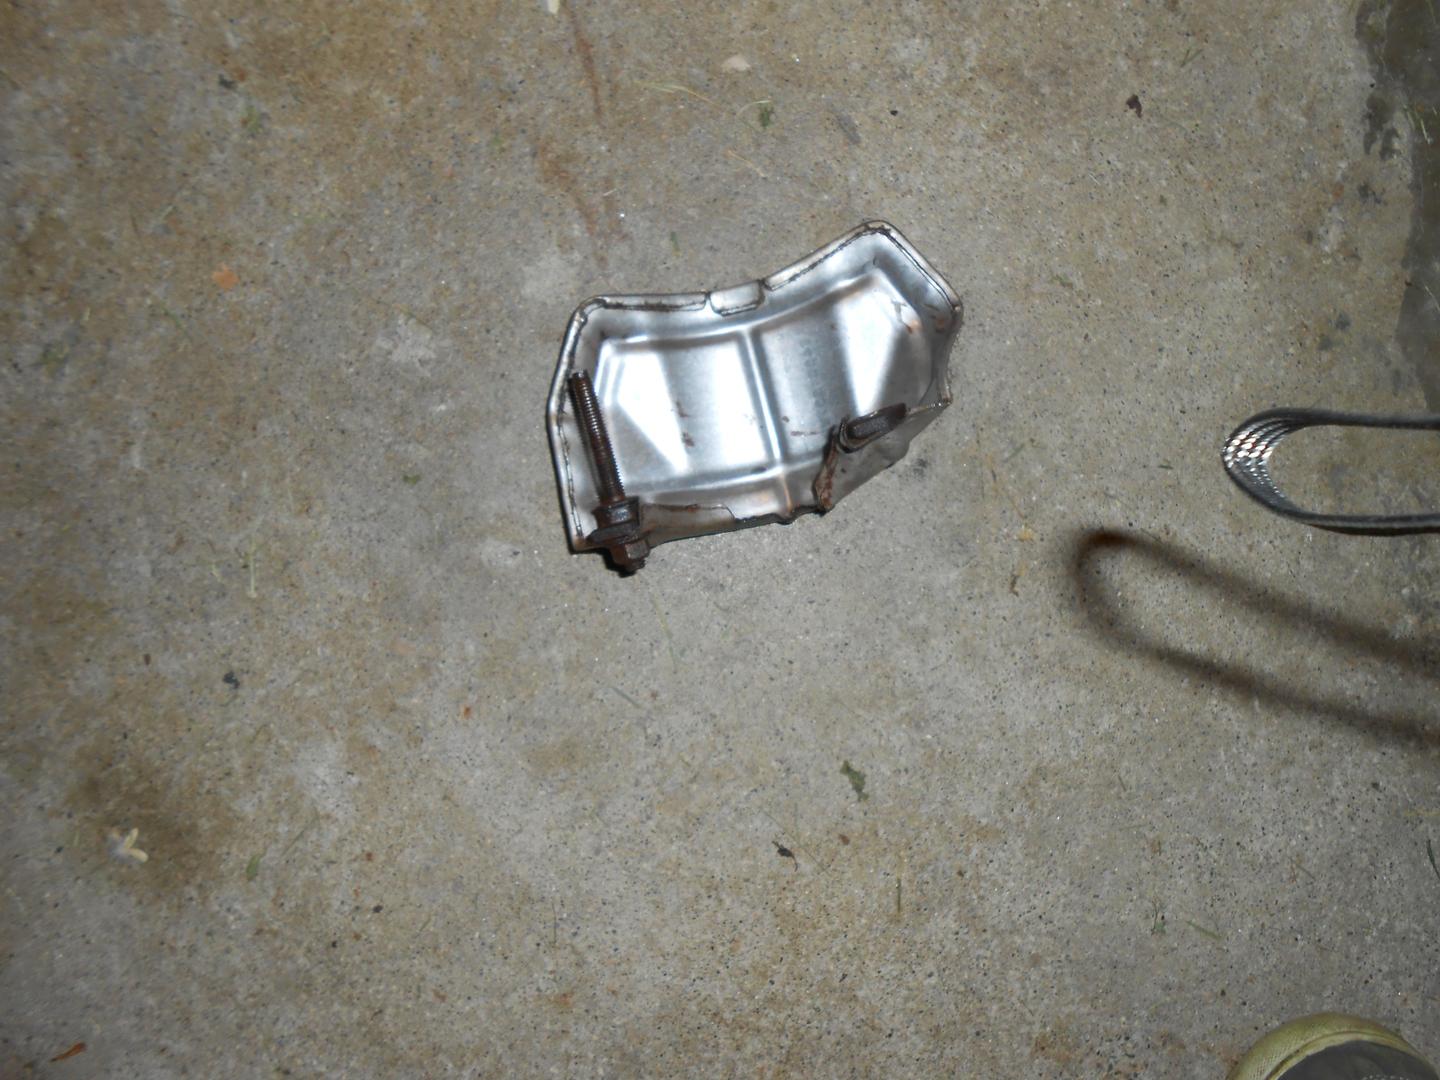
The exhaust crossover has a shield over one of the connections. I damaged it while removing it. I underestimated the stubbornness of the exhaust bolts.
2015-06-10
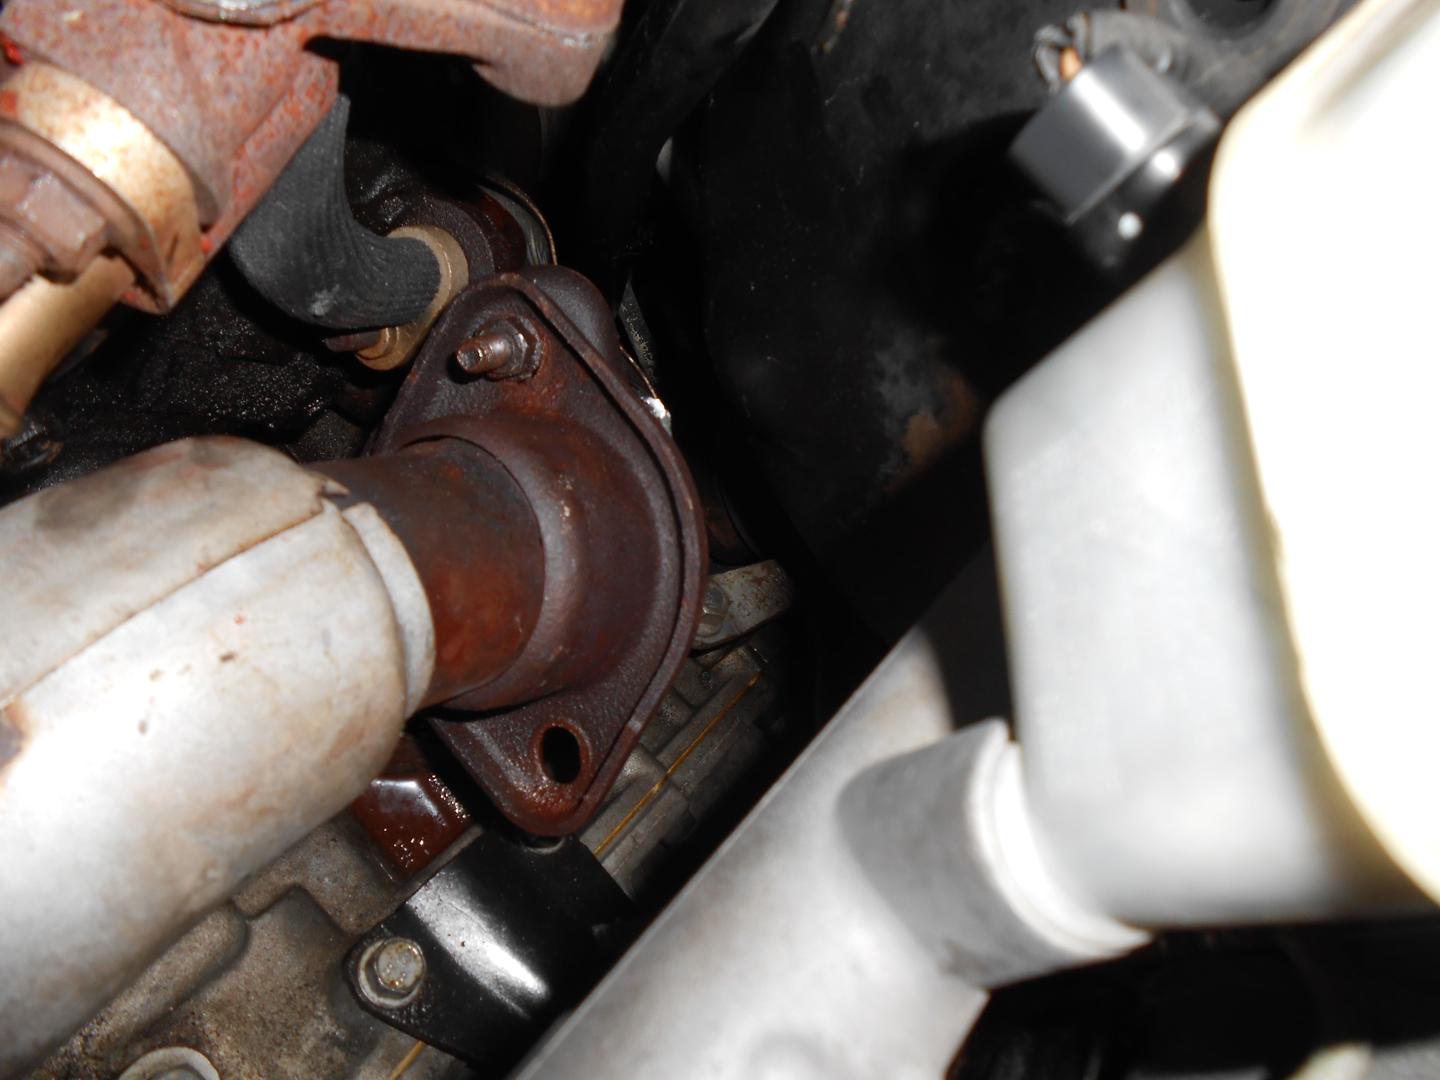
The shield was covering this connection. I ended up buying some deep sockets to get on these.
2016-05-31
At the downpipe, there are two nuts that need to be removed from the studs. I rounded one so bad I thought I was going to have to cut the exhaust off.
These held me up for a very long time.

The downpipe, disconnected from the rear manifold.
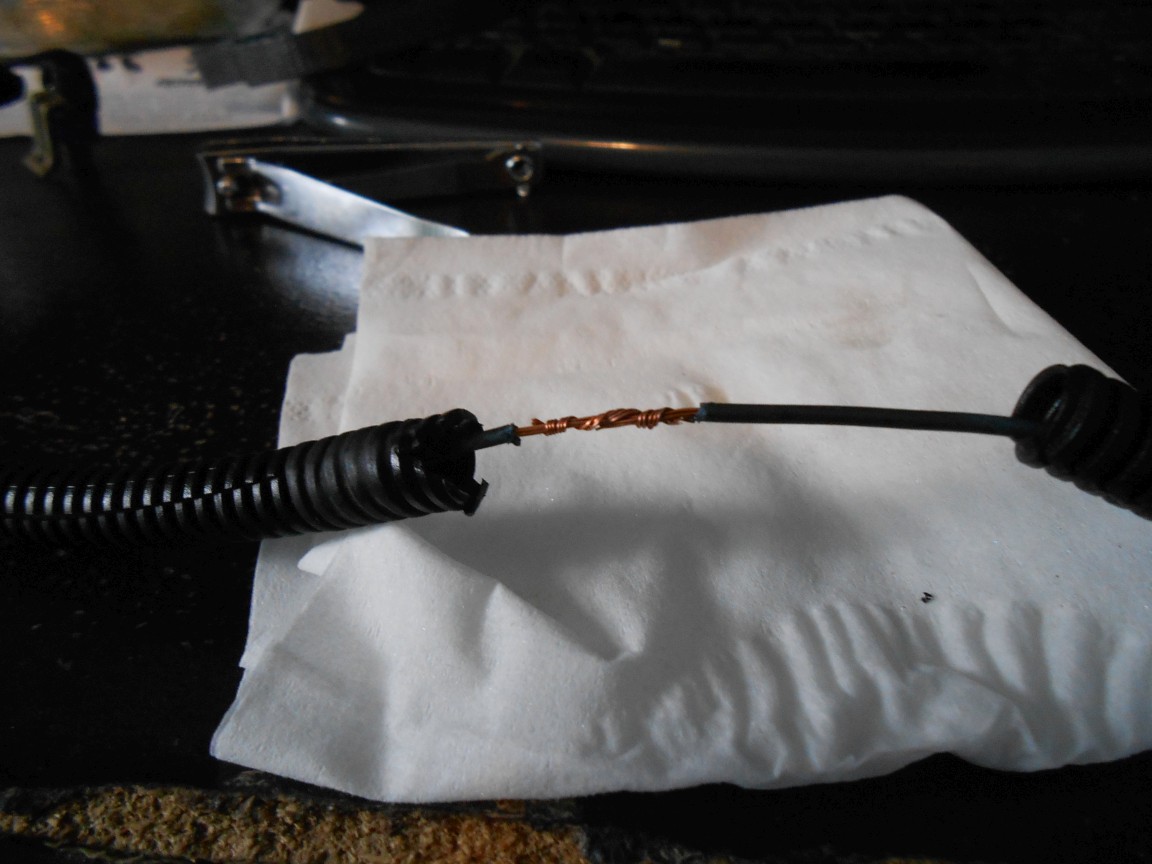
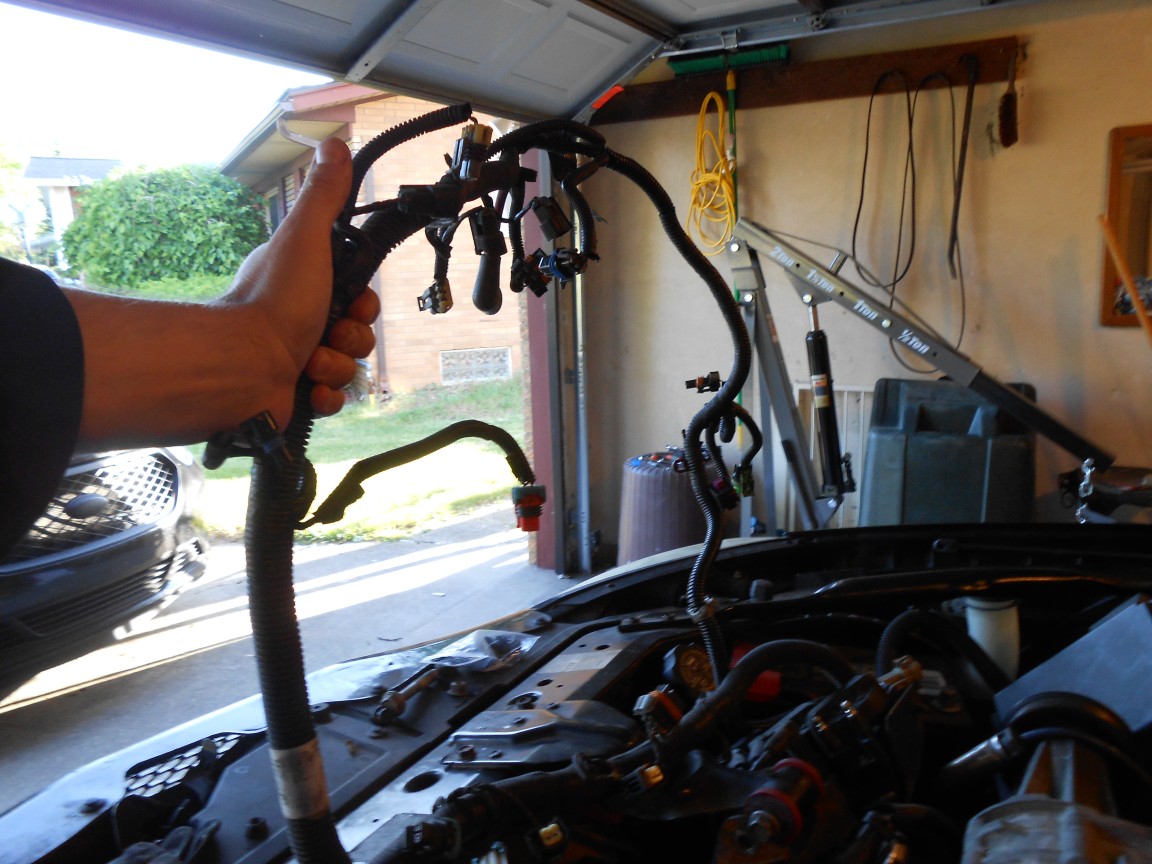
The wiring harness needs to be disconnected from the engine. This is a challenge with brittle plastic connections in hard to reach areas. I'd be tempted to purchase a new wiring harness.
2016-06-02
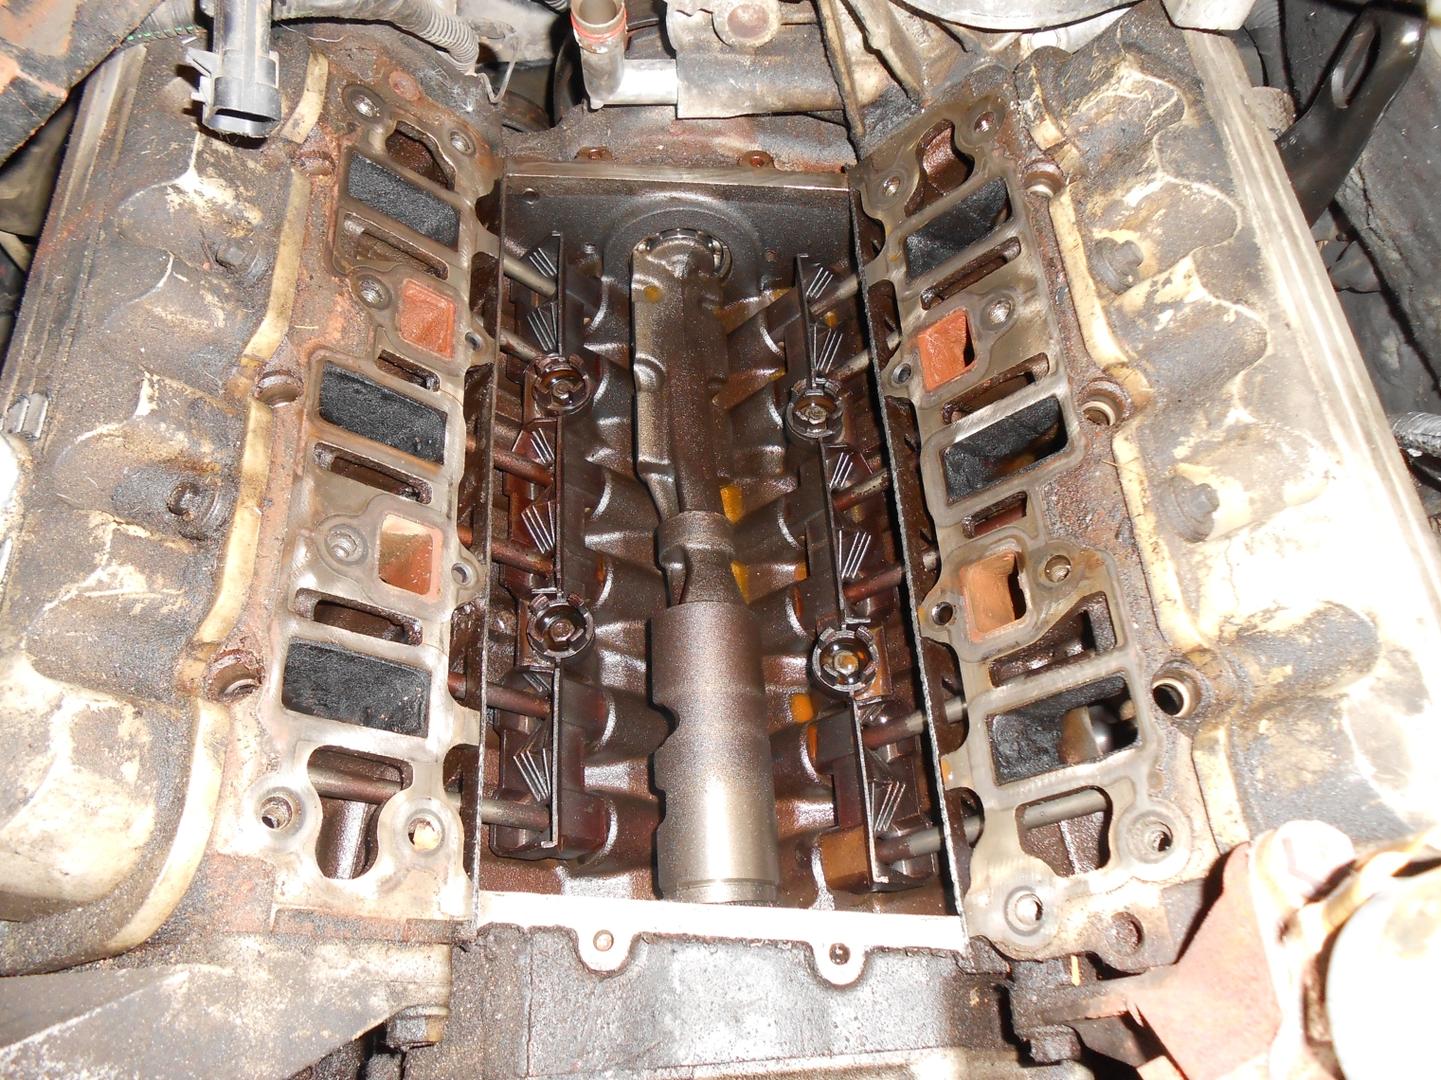
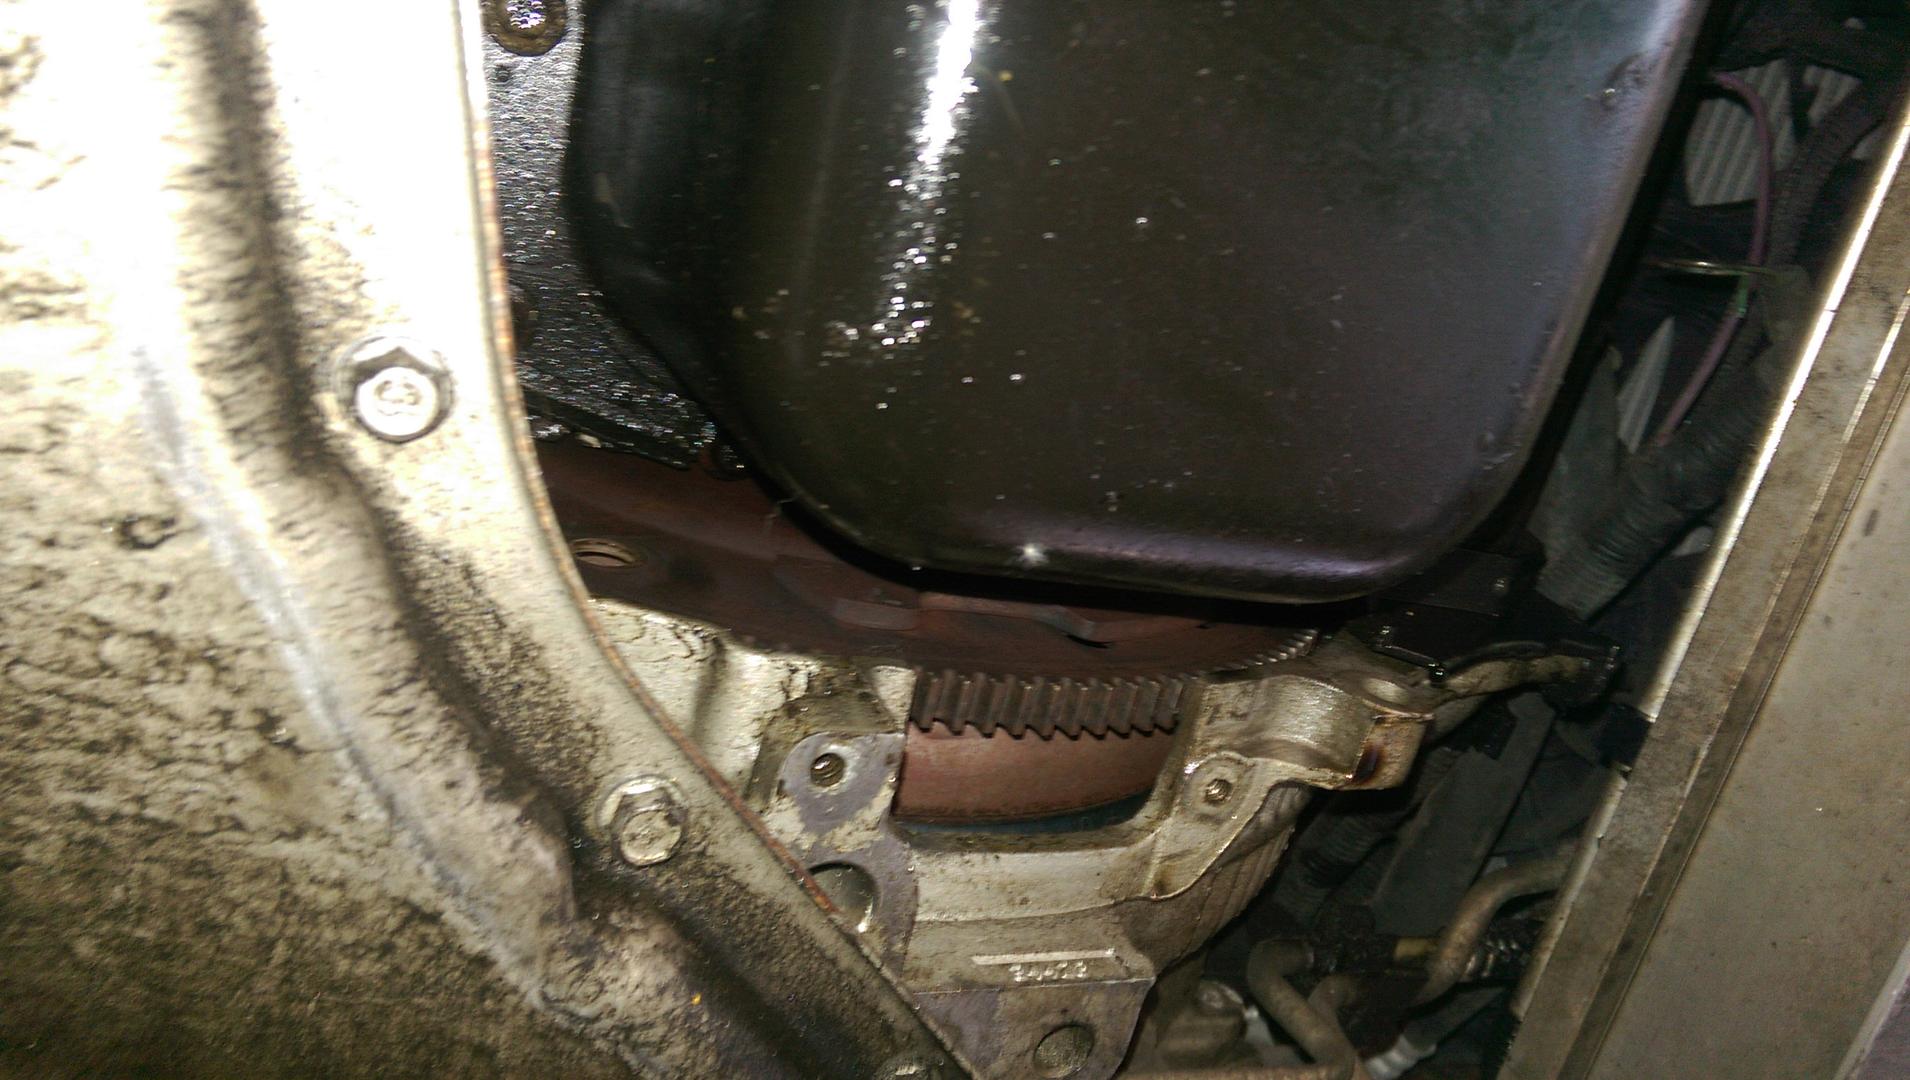
The bell housing inspection plate did not come back to me with the rest of the car. Here's how things look under the car. I am able to turn the crank with a breaker bar, but it's not easy. Had to buy a 1/2" drive breaker bar and 24mm socket.
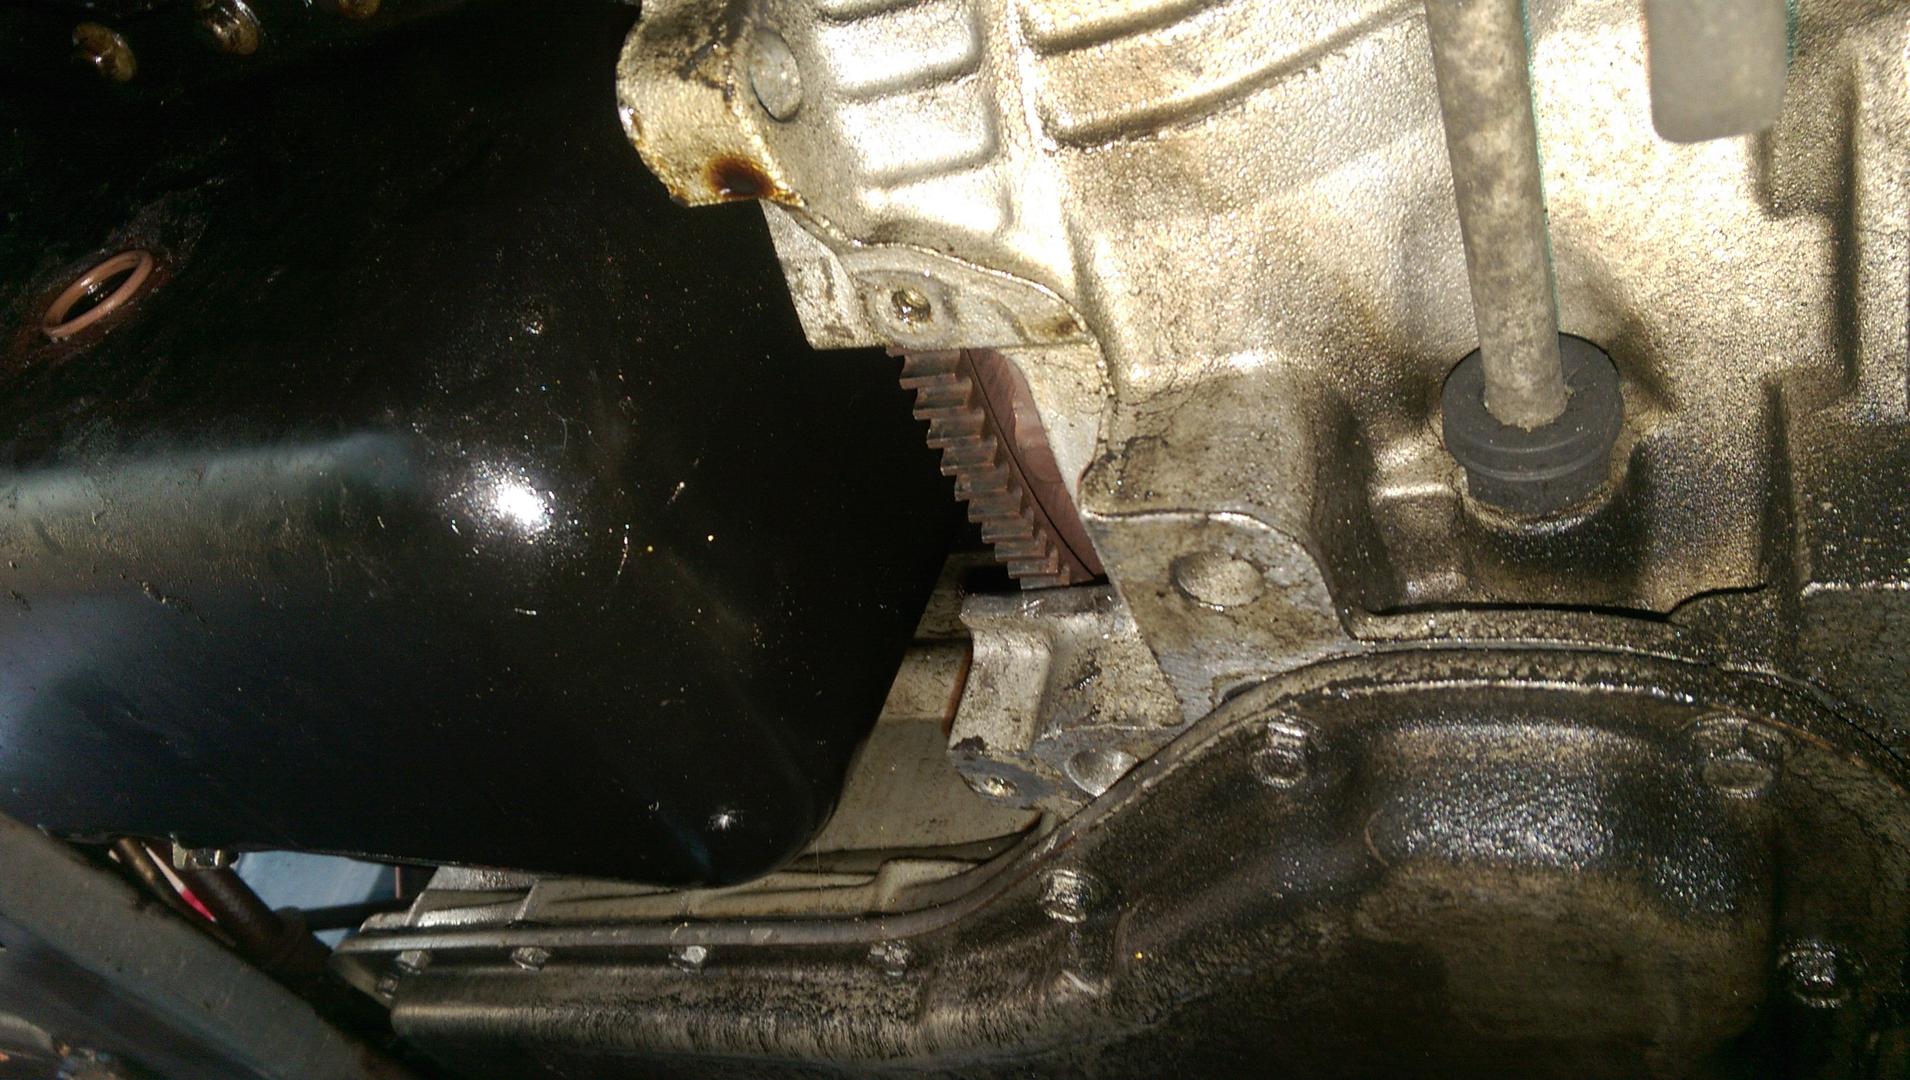
Turns out the torque converter bolts were already removed by the shop it was towed to. Guess I need a new set of those too.
2016-06-04
I removed the rear exhaust manifold. Bent one stud a little bit (guess I'll have to get headers). The worst part was that the transmission dipstick / fill neck was in the way. I decided to remove it from the transmission to make room. Half the fluid in the trans poured out. That sucked. Fortunately I had a catch pan close by. Then I removed the bitch bolt. I got my socket on it, but it wouldn't budge. No room for a breaker bar. The solution was to stand on the wrench and bounce. All bolts connecting the bell housing to the engine are finger-tight.
2016-06-05
The oil filter neck finally removed. And I also have a hernia, so work on this is coming to a halt again.

Hernia surgery on 2016-06-26.
2016-08-01
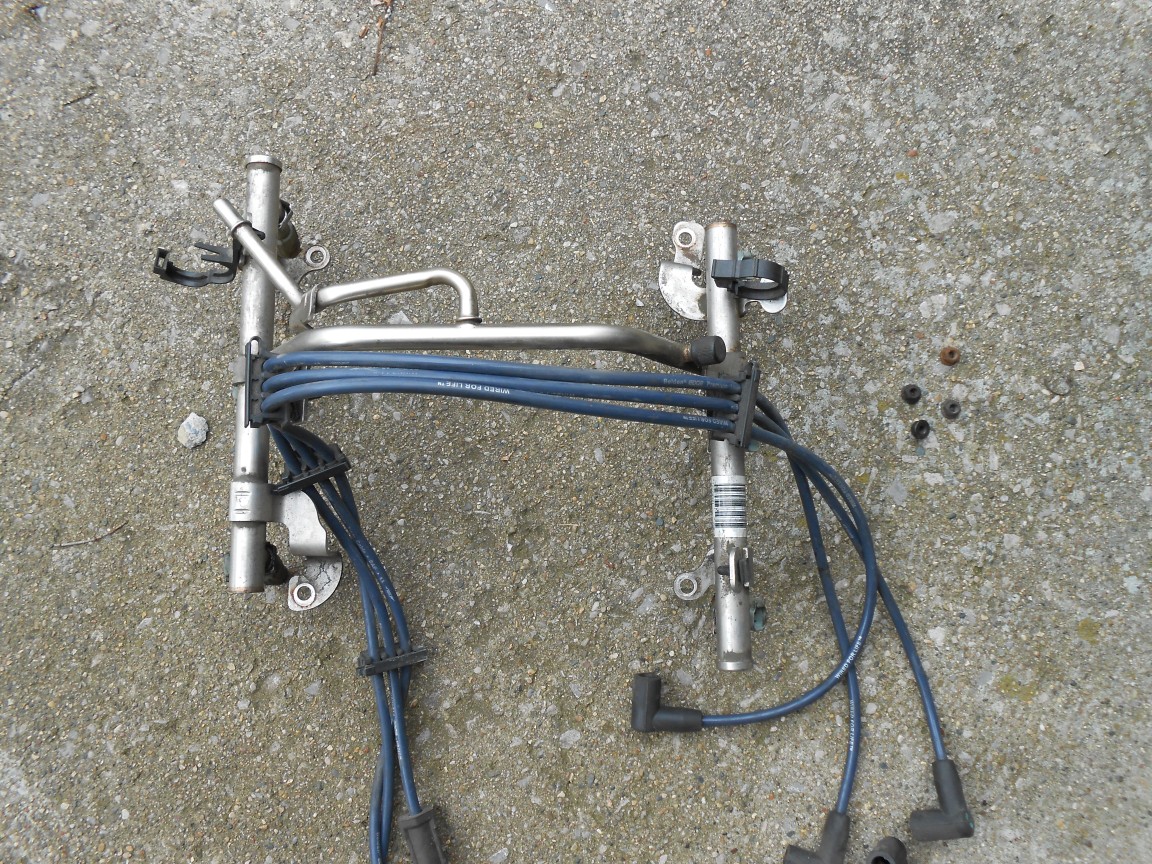
Fuel Rail removed.
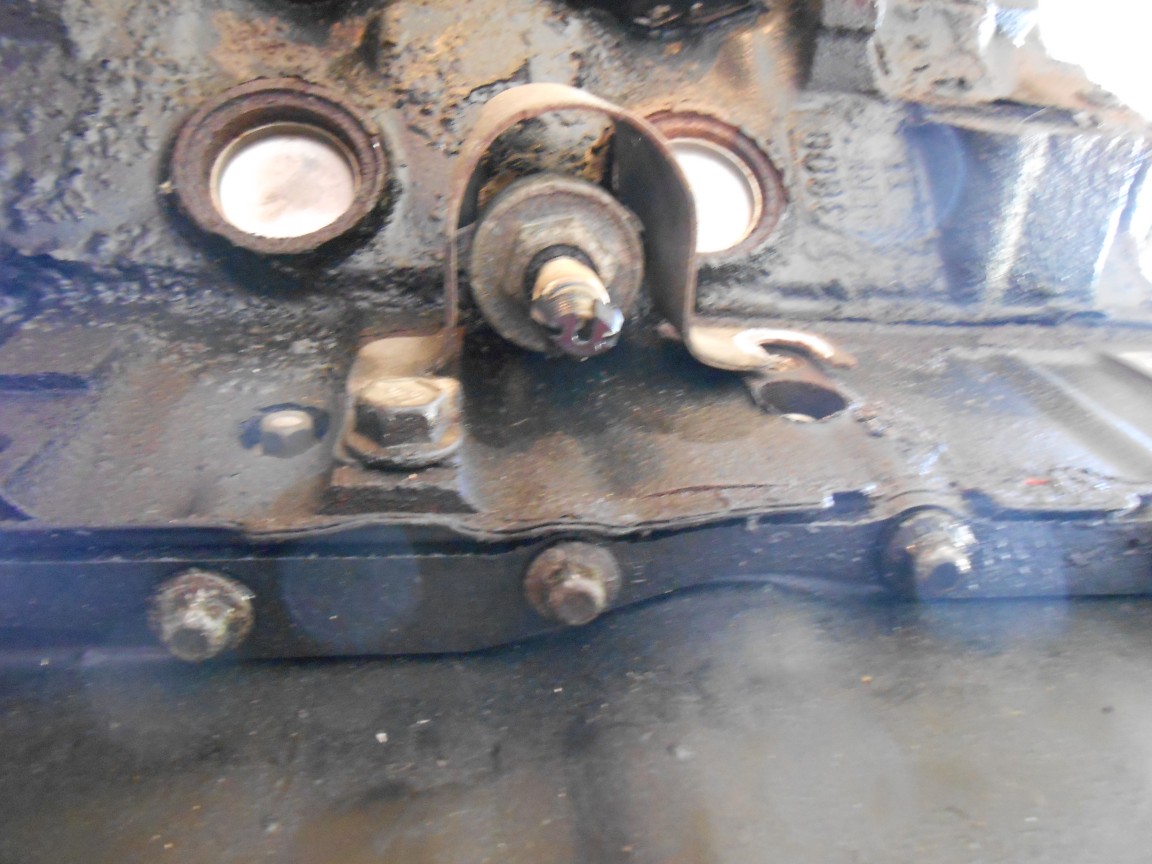
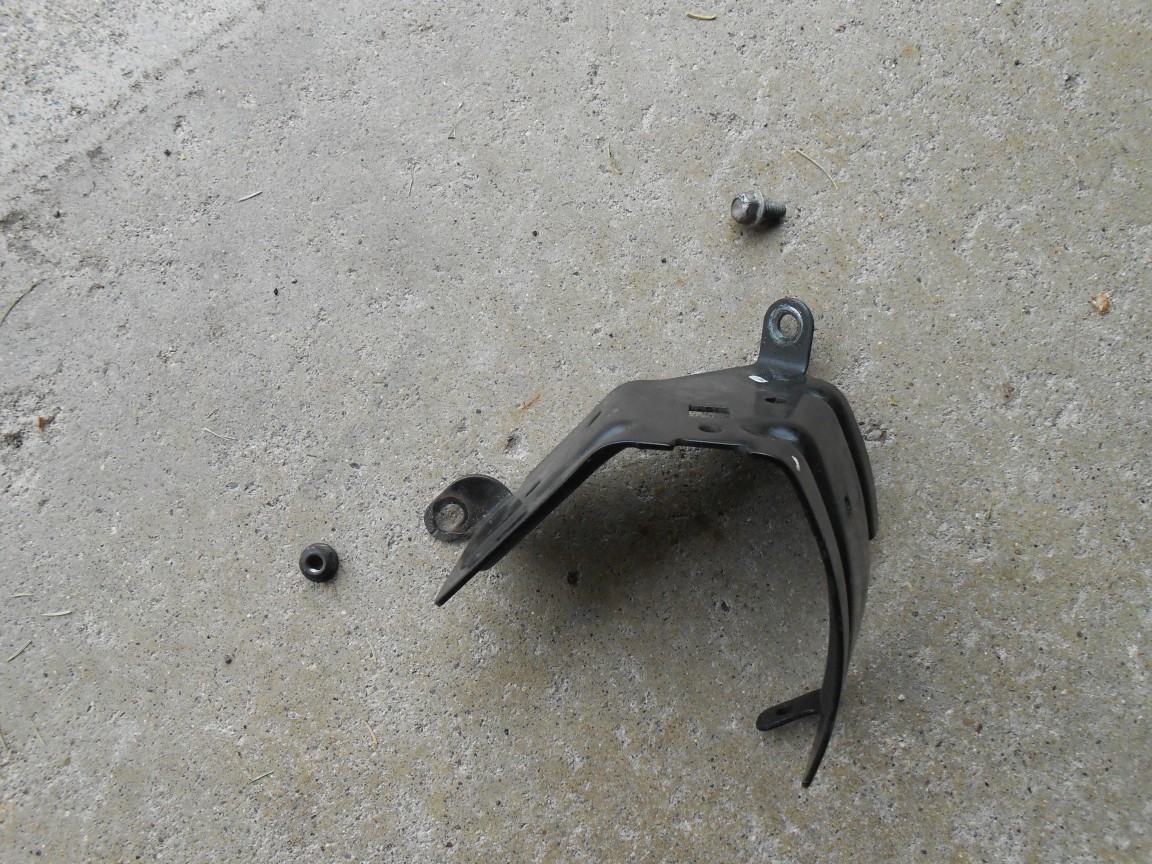
Shield / bracket around the EGR (i think)
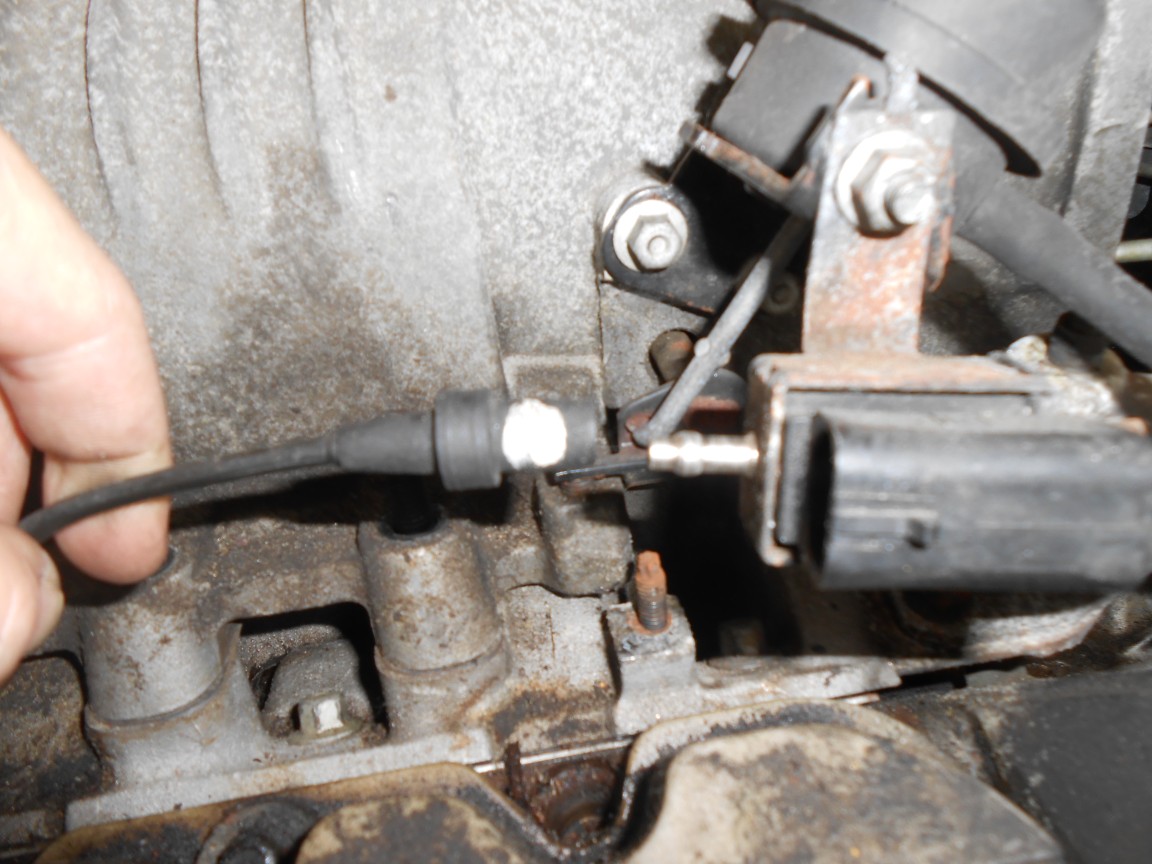
Need to remove vacuum lines. Pretty sure this is the boost bypass valve.
Vacuum lines were brittle.

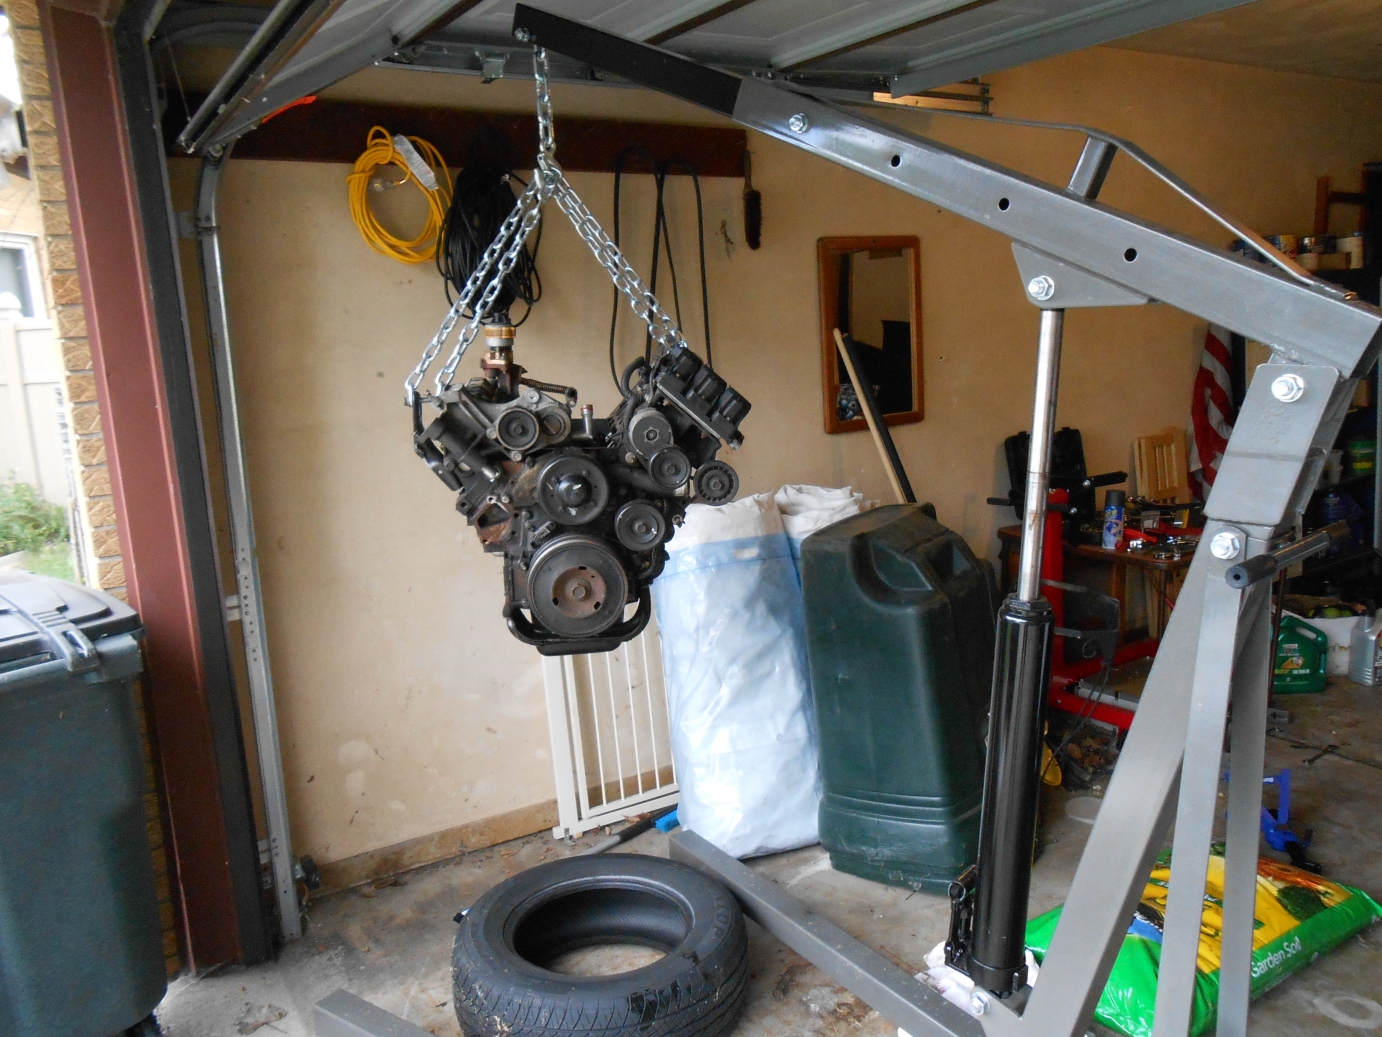
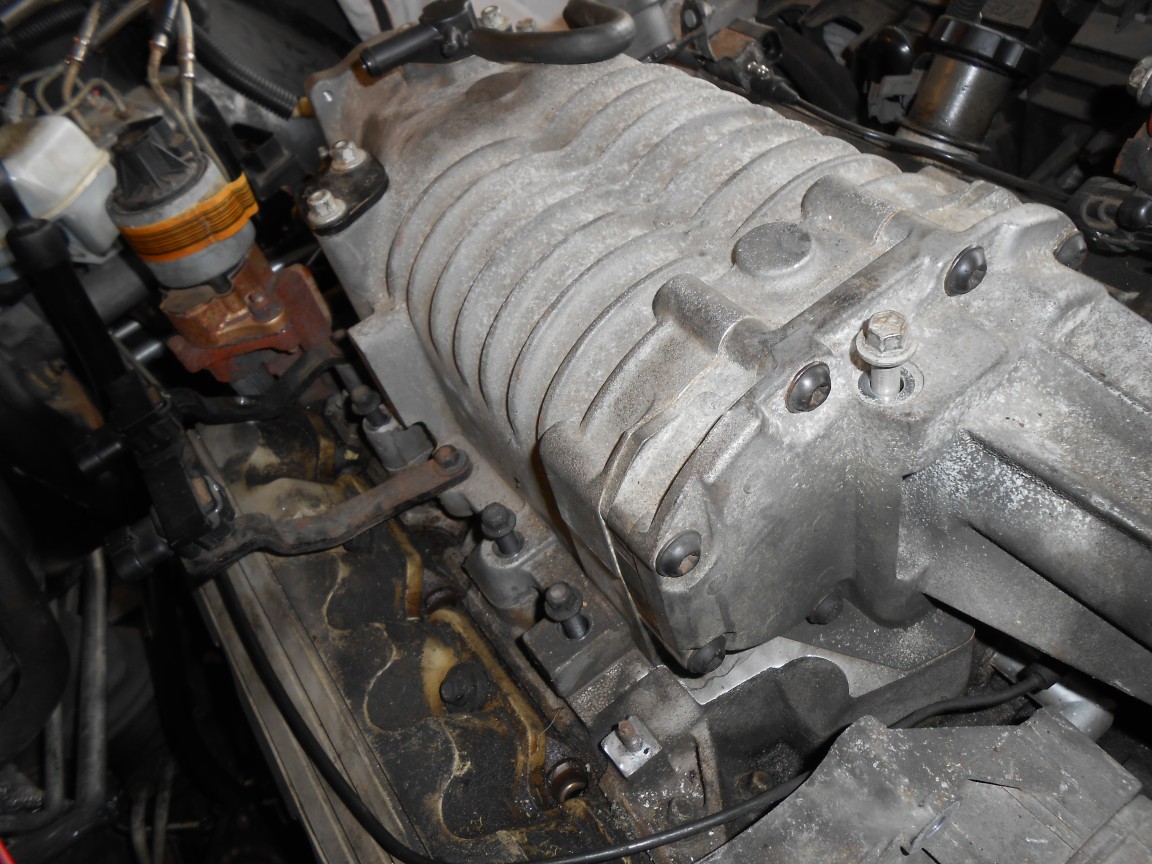
At this point, I've re-attached the hoist-points. It might not be necessary, but I decided to remove the supercharger. Since the replacement engine might not come with a supercharger on it. If it does come with one, I can sell this one for $100+.

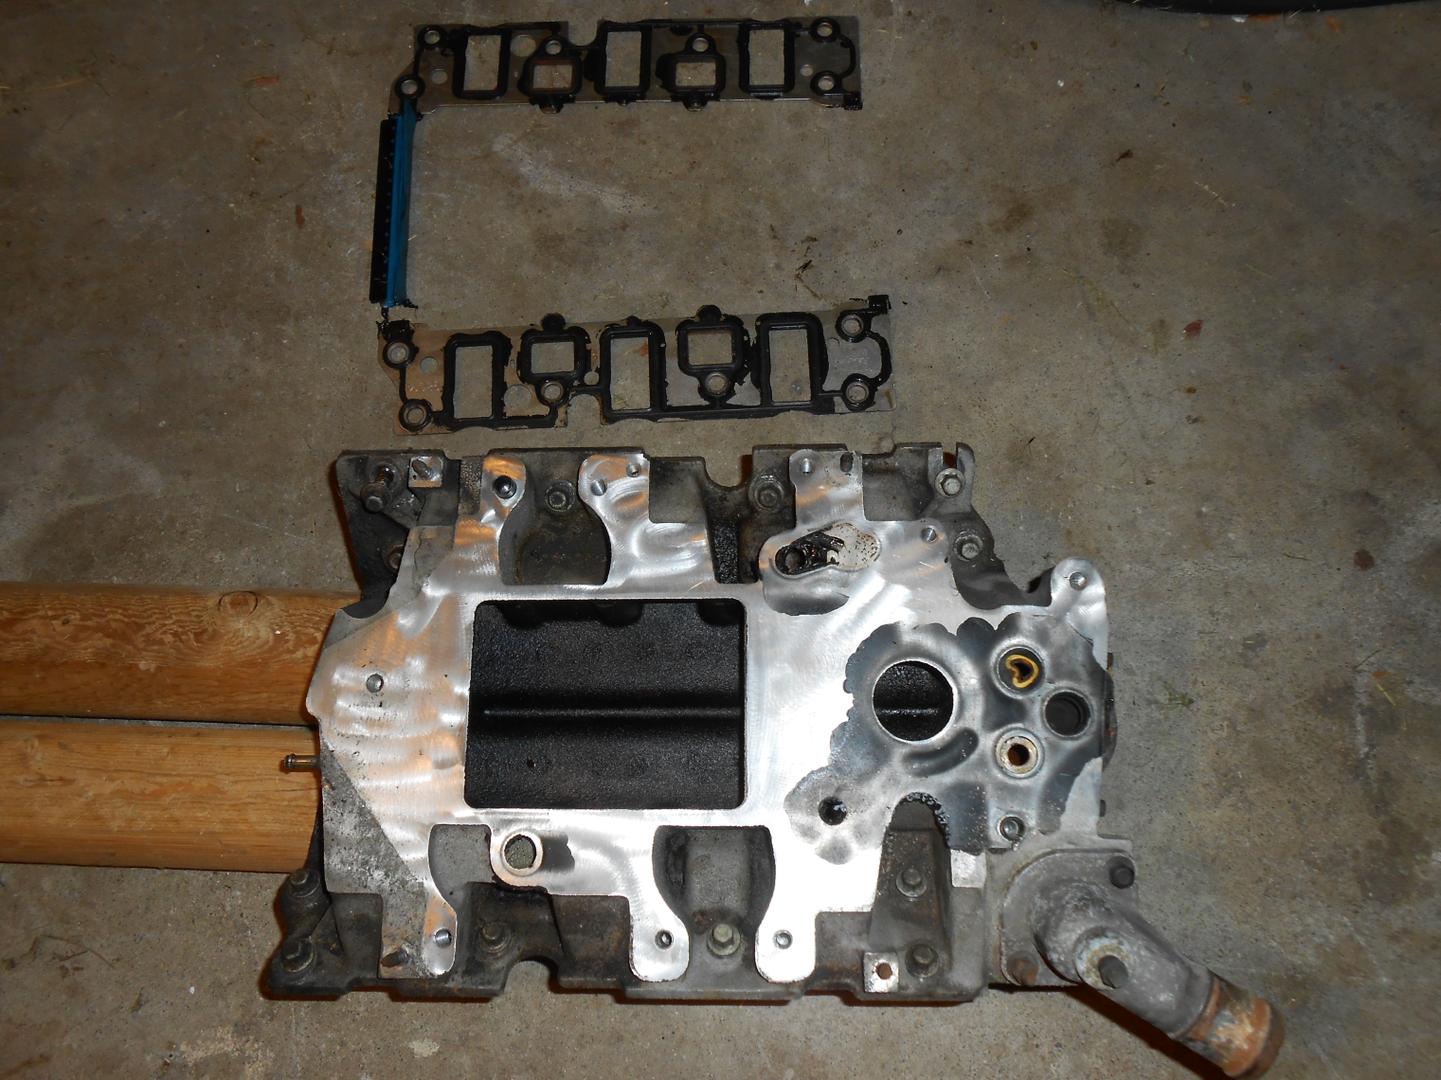
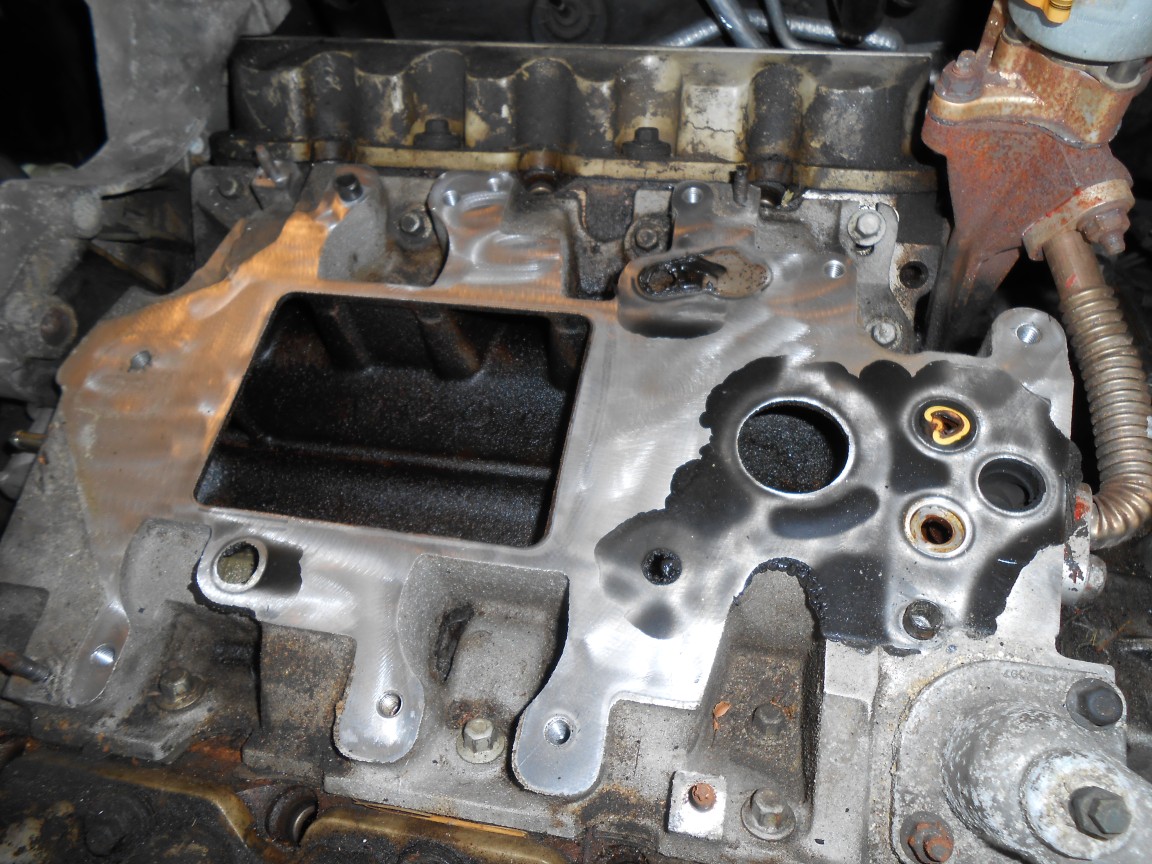
With the supercharger removed, this is what the lower intake manifold looks like.
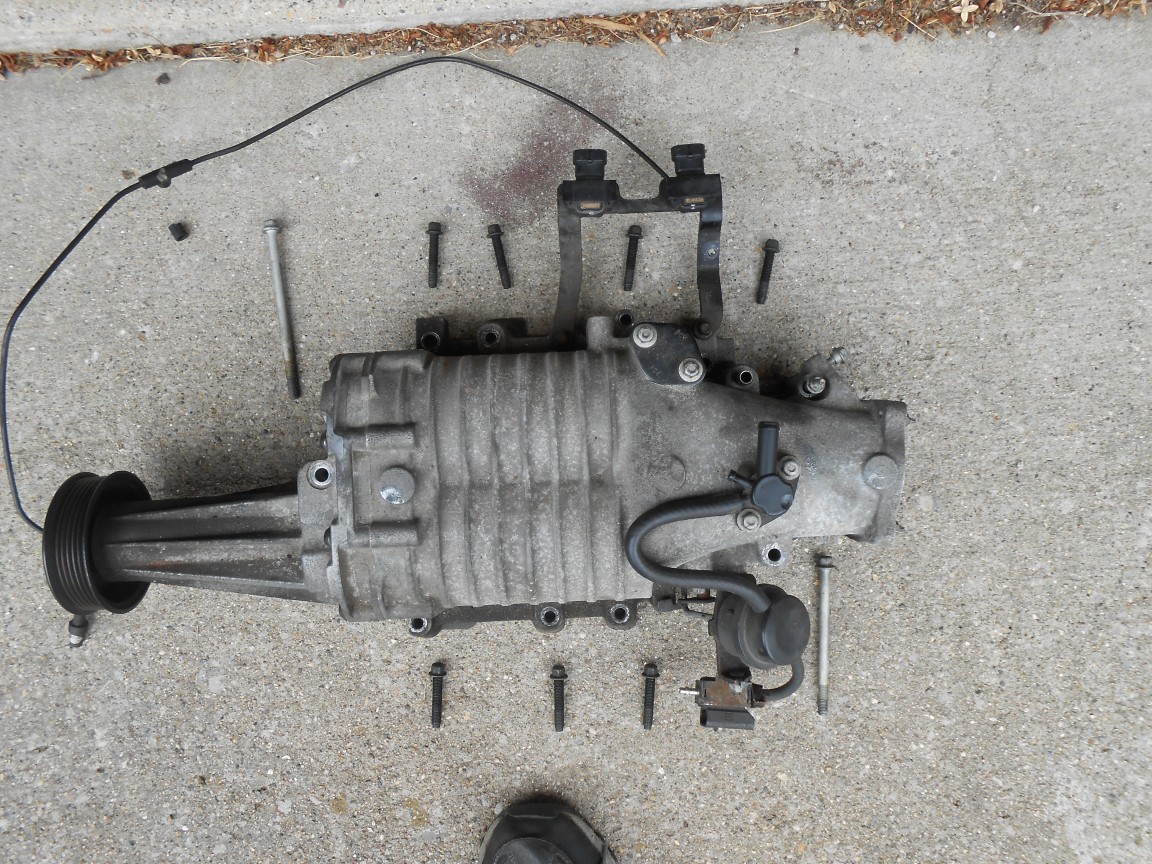
Supercharger removed.
This is my 2004 GTP CompG. I bought it in 2007. My first car that cost more than $2000. The first car I ever bought from a dealership. The first car I ever had that was actually "fast". The first car I ever had with a sunroof, and every single option possible from the factory including tap-shifters, red calipers, heads-up-display, leather, disc changer, and heated seats. I added custom grilles, tint, tail-light covers, rain guards, mud flaps, bigger wider wheels, aftermarket spoiler, alarm, and of course my first CarPC.
This car died in November of 2014 while I was driving from Detroit to Pittsburgh for a work trip. It died near the Ohio / Pennsylvania border on a Sunday morning.
The project begins on May 28 of 2015. Finally warm enough to start looking at the car, and I left a job that I hated so I would have more time for projects.
The top grilles are OEM Special Edition grilles. The lower grilles are aftermarket and originally reflective-white. The Pontiac emblem just has a reflective-white sticker on it.
Black wheels
The GTP emblem. A regular Grand Prix was quick. The GTP was downright fun.
After having the car towed hundreds of miles and paying the tow truck driver $700 cash, here's what I find under the hood. A box of spark plugs.
I didn't have any tools for working with an engine. So, time to spend some money. First, the engine stand.
Engines are heavy. So I bought a hoist.
Here's a creeper I bought and never used. I didn't really like spending that much time under the car.
And extra set of jack stands. I already had the floor jack.
2015-05-29
The first thing to do is to take off the support on the driver's side, and then remove the air intake. Easy peasy lemon squeezy.
The front exhaust manifold needs to come off (in my opinion).
Now I can see down to the AC compressor and starter
I removed the hood with some help from the wife. Not a one-man job. Removed front wheels and put the under the vehicle for additional safety.
2015-06-07
In order to disconnect the fuel line from the fuel rail on top of the engine, a special disconnect tool is required. Just a few bucks at AutoZone.
The fuel line connection also has a little bracket-clip thing, shown here.
Here's the fuel line connection with the clip removed.
Here's the oil dip-stick tube.
This is the oil filter. Looks sparkly.
The AC system is still charged, so the plan is to remove the compressor from the engine block without disconnecting the lines.
The oil filter neck sticks out from the block and will complicate the extraction process. Probably best to remove it.
The exhaust crossover has a shield over one of the connections. I damaged it while removing it. I underestimated the stubbornness of the exhaust bolts.
2015-06-10
The shield was covering this connection. I ended up buying some deep sockets to get on these.
2016-05-31
At the downpipe, there are two nuts that need to be removed from the studs. I rounded one so bad I thought I was going to have to cut the exhaust off.
These held me up for a very long time.
The downpipe, disconnected from the rear manifold.
The wiring harness needs to be disconnected from the engine. This is a challenge with brittle plastic connections in hard to reach areas. I'd be tempted to purchase a new wiring harness.
2016-06-02
The bell housing inspection plate did not come back to me with the rest of the car. Here's how things look under the car. I am able to turn the crank with a breaker bar, but it's not easy. Had to buy a 1/2" drive breaker bar and 24mm socket.
Turns out the torque converter bolts were already removed by the shop it was towed to. Guess I need a new set of those too.
2016-06-04
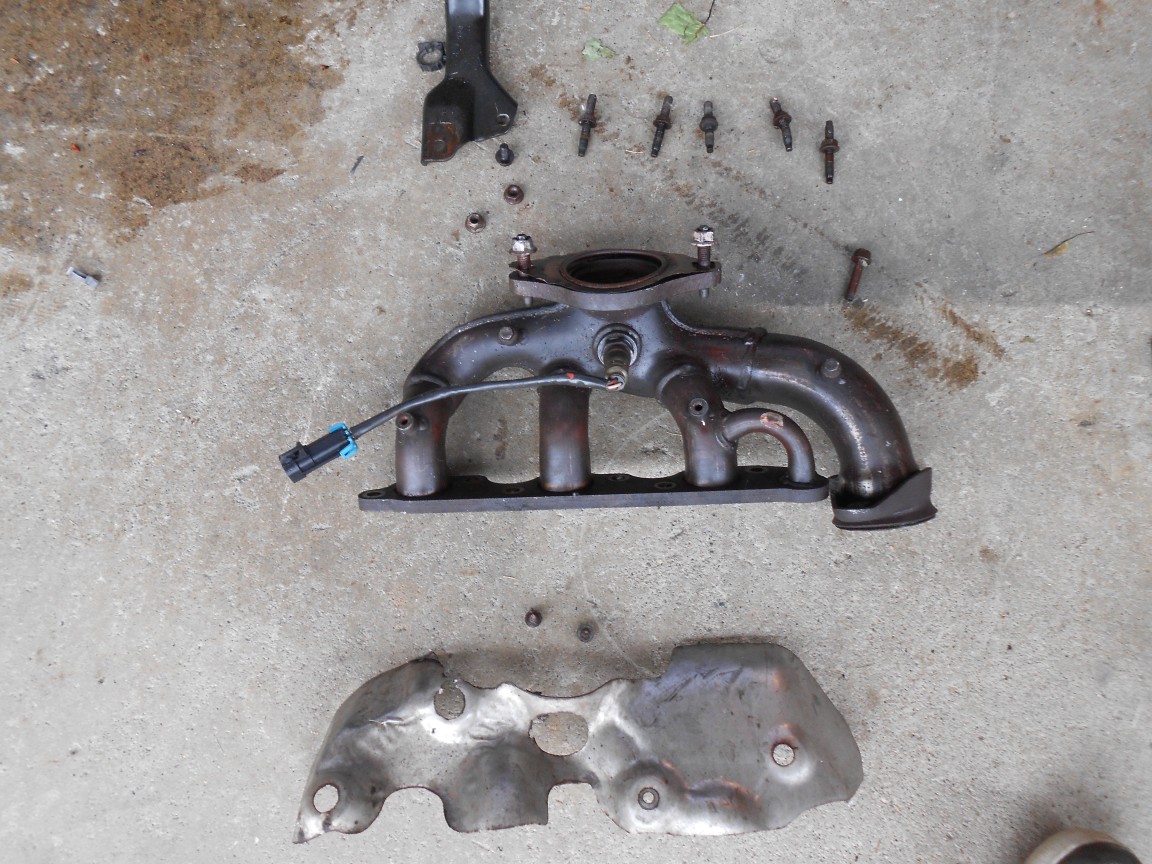
I removed the rear exhaust manifold. Bent one stud a little bit (guess I'll have to get headers). The worst part was that the transmission dipstick / fill neck was in the way. I decided to remove it from the transmission to make room. Half the fluid in the trans poured out. That sucked. Fortunately I had a catch pan close by. Then I removed the bitch bolt. I got my socket on it, but it wouldn't budge. No room for a breaker bar. The solution was to stand on the wrench and bounce. All bolts connecting the bell housing to the engine are finger-tight.
2016-06-05
The oil filter neck finally removed. And I also have a hernia, so work on this is coming to a halt again.
Hernia surgery on 2016-06-26.
2016-08-01
Fuel Rail removed.
Shield / bracket around the EGR (i think)
Need to remove vacuum lines. Pretty sure this is the boost bypass valve.
Vacuum lines were brittle.
At this point, I've re-attached the hoist-points. It might not be necessary, but I decided to remove the supercharger. Since the replacement engine might not come with a supercharger on it. If it does come with one, I can sell this one for $100+.
With the supercharger removed, this is what the lower intake manifold looks like.
Supercharger removed.